Earlier this year I bought a 3D printer! I had previously commissioned a few prints through Etsy stores for cosplays and I had finally decided it was time to take the plunge and buy my own printer. This post will not cover any 3D modeling, just the steps required to prepare a PLA print for painting and the actual painting process.
With 3D prints, painting is usually the fun part, but before that, you need to do the not so fun part which is the sanding. Assuming you’ve already got a 3D print in hand, when you look at it you can probably see that it’s made up of many many thin layers that the printer slowly built up over hours of printing. If you printed it yourself, you may be able to play with the ‘resolution’ setting in your printer software to get thinner layers. To obtain a smooth surface that will take on a nice shine the ridges formed by the layers will need to be sanded away. 200 grit sandpaper is a good starting point as it will take the excess material away very quickly and sanding in different directions (horizontal, vertical, diagonal, circular) will create a nicer finish. Once the bulk of the excess plastic has come away you’ll want to switch to a higher grit usually 300-400 to get an even smoother finish.
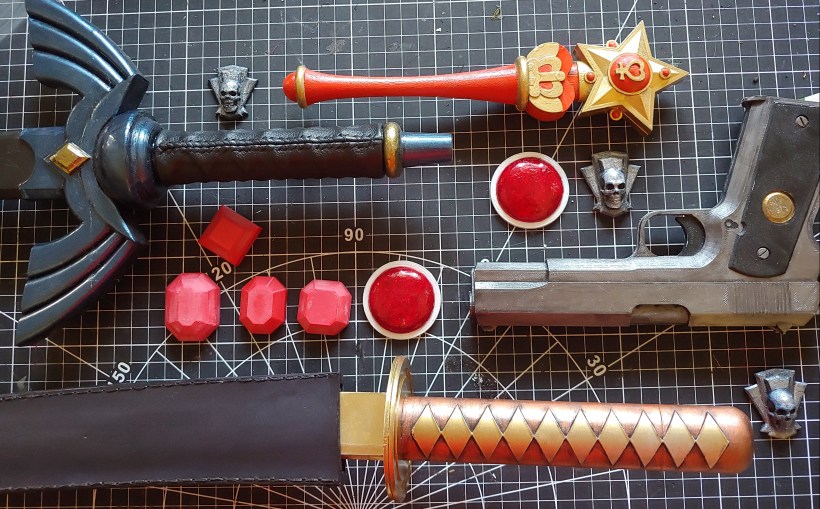
Depending on what you’re using the print for you may continue sanding with even finer sandpapers, for example, I am currently cleaning up a gem that I printed to make a mold for resin casting. I have sanded it with 1500 grit sandpaper and then rubbed it down with printer paper afterward, and the plastic has actually become shiny again.
You can also get the prints wet while sanding them to help control the mess from the plastic dust, and it’s a good idea to wash off all the plastic dust with water or wipe it away with a damp cloth once you complete the sanding.
After sanding comes priming, I like to use Rustoleum Painter’s Touch 2x Ultra Cover, it bonds nicely to plastic and does a good job filling cracks. Typically 2-3 coats are enough. You can also go right onto the plastic with some of the other Rustoleum ‘Paint & Primer In One’ products, however, I usually go in with the white primer first anyway because the colors come out nicer with a white base coat, and they take fewer coats to cover.
Usually, after I’ve finished priming, I take one of the higher grit sandpapers (600+) again and just give the print a quick little rub down to get rid of any inconsistencies the priming process may have left on the surface just to be sure it’s ready for painting.
3D printed surfaces take spray paints really nicely, especially metallic ones on the smooth surfaces, but for the most part, I just use regular acrylic paints. This part is exactly the same as if you were painting any other prop.
The last thing you need to think about is the top coating. Top coating isn’t really anything different from working with other props either, the only thing you really need to consider is the durability. I have used Mod Podge, Rustoleum Clear, and Golden Artist Colors Heavy Gel and all of them do the job just fine. The Artist Gel seemed to be the most durable option of the 3, but whatever clear topcoat you have on hand will likely work.

A precise & well-wrtitten post. Thanks heaps for sharing it.
Glad you enjoyed it! Thanks for reading!!