
I’ve been 3D printing for over 2 years now, and even on files I print all the time, sometimes the stars just don’t align and things just break while printing. Or I drop them on the floor after I’ve finished printing and break them. However it has happened to break doesn’t really matter, sometimes repairs are just required, and sometimes you need them to happen FAST.
This trigger guard on my Death the Kid pistols is a break that happens a lot. I’ve made modifications to the file to prevent it, and make it happen less often, but sometimes the temperature or humidity in my studio is just different, and we get breaks. It happens, I set them aside to repair in twos and move on.
This is where the cool part comes in, I used to repair them with a construction glue called PL Premium, great stuff, but it takes 24 hours to dry. In the spring my husband was browsing at the hardware store and found a UV resin pen. I’m sure there are cheaper ways to purchase UV resin, but he grabbed it because he thought it would be a good beginner-friendly way to play with some UV resin for the first time. A month or two later I had the idea to try it out on this pistol repair that I do all the time.
First, you will need to use an Exacto or craft knife to clean away any support material or print spaghetti that prevents you from fitting the broken piece back into its proper position.

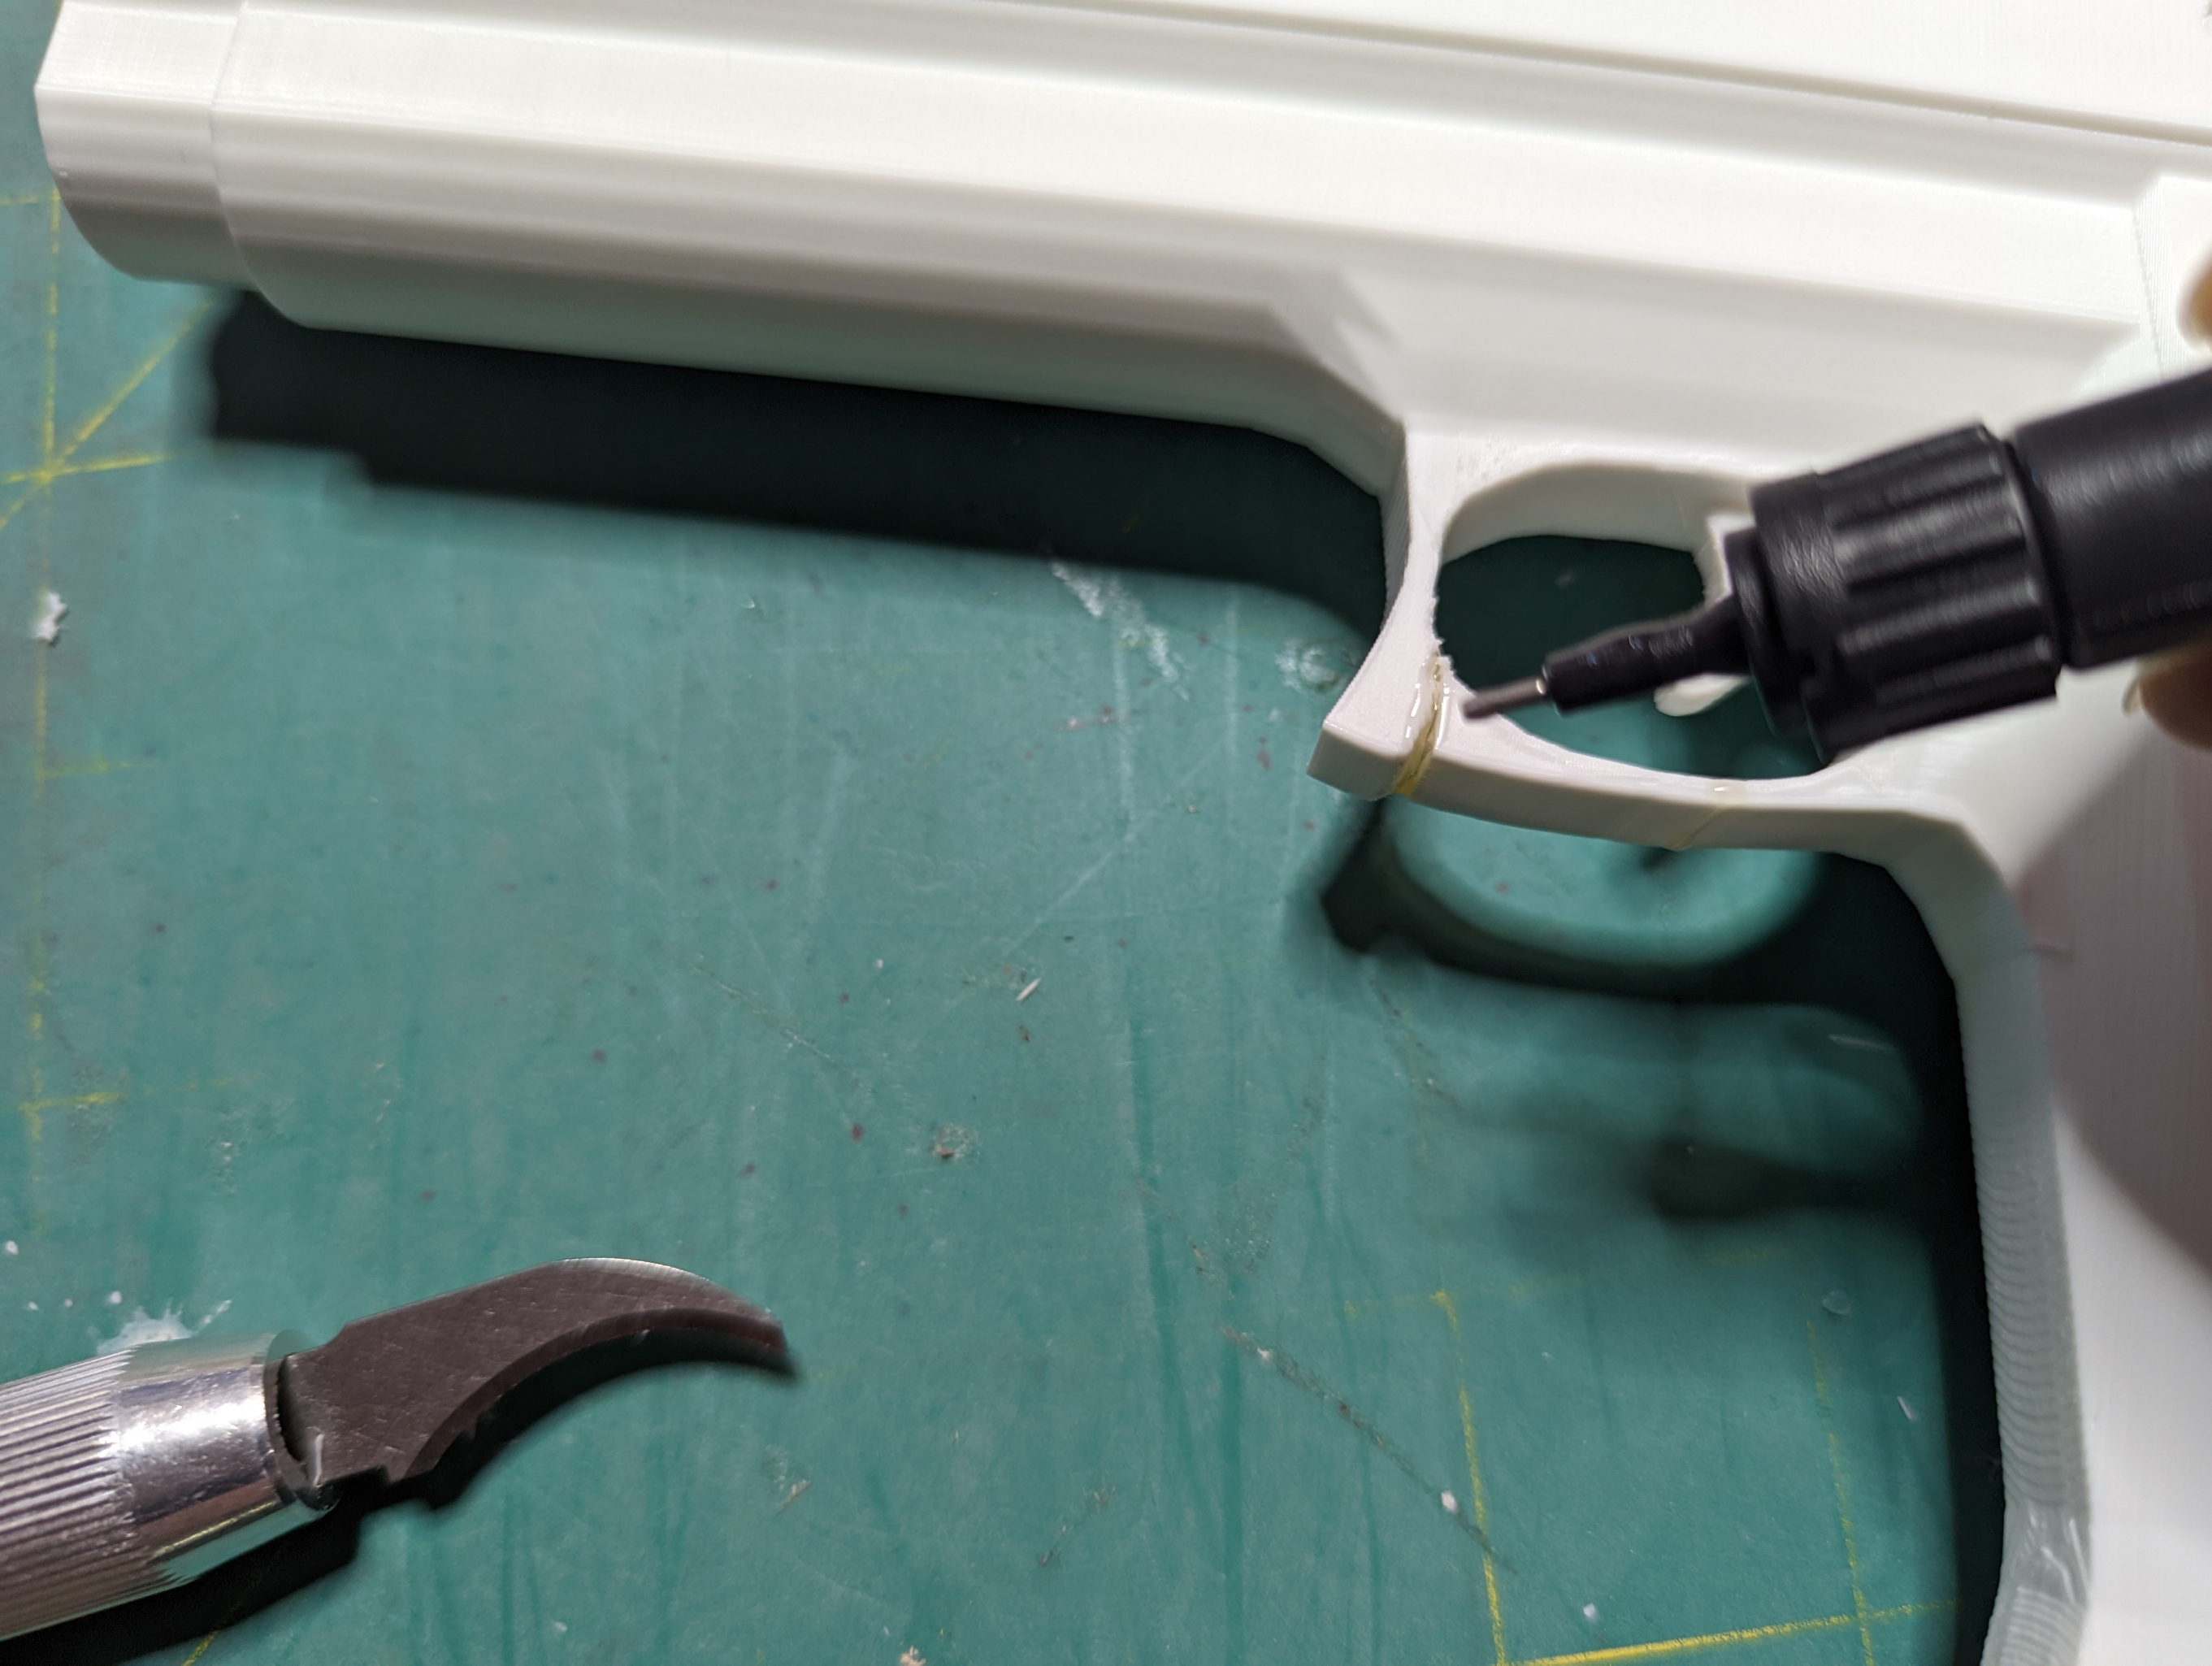
Once your puzzle kind of fits back together it’s time to start filling those gaps with UV resin. The resin is thick and it won’t immediately drip all over the place, but it’s still a goo idea to focus on small areas at a time and to go slow.
I overfill the gap a little bit on purpose because any excess can be cut away or sanded flat later.
Cure the resin using UV light between applications.

Cut or sand away any globs from resin ooze after the resin is all cured and you’re done! This repair took me about 5 minutes from start to finish, much better than the 24 hours it used to take.
