
Recently I had to make a decorative sleeve cuff, that wasn’t included in my sewing pattern. It was for an anime school uniform I was working on. It wasn’t difficult to do, but I have done it differently in the past and it didn’t come out near as nicely so I thought I should share the superior method. For context, the cosplay I was working on Sailor Venus’s summer school uniform.
You will need:
- Scrap Fabric
- Fusible Interfacing

So let’s just dive right into this. You will need to start by measuring the cuff of your existing shirt sleeve. Mine was about 33cm. Add at least 5cm to that measurement (for seam allowance) to get the length of your rectangles. For the width, you will need to decide how thick you want the finished cuff to be, multiply that by 2 and add enough extra for a seam allowance. For example, if I want a 3cm cuff : 3 x 2 = 6cm and then we add another 3cm for the seam allowances, to get a total of 9cm for the width. Once you’re done with the math, give yourself a high-5, because that’s the hardest part. Use the length and width that you just calculated to cut out 2 rectangles in your base fabric colour.

Next, you will need to cut out 2 rectangles of fusible interfacing that are the same size as the fabric rectangles and use an iron to adhere them to the backside of the fabric.

Use some chalk and a ruler to mark a straight line right down the middle of your rectangle. This will be used as a guide when adding the stripe.
This is the part where you can optionally use a ribbon or bias tape, but I am using a zig-zag stitch with a length of 0.4mm and a width of 5mm. I would recommend interfacing a little piece of scrap fabric to test out different lengths and widths so that you can decide exactly how you want it to look before you start on the real thing.
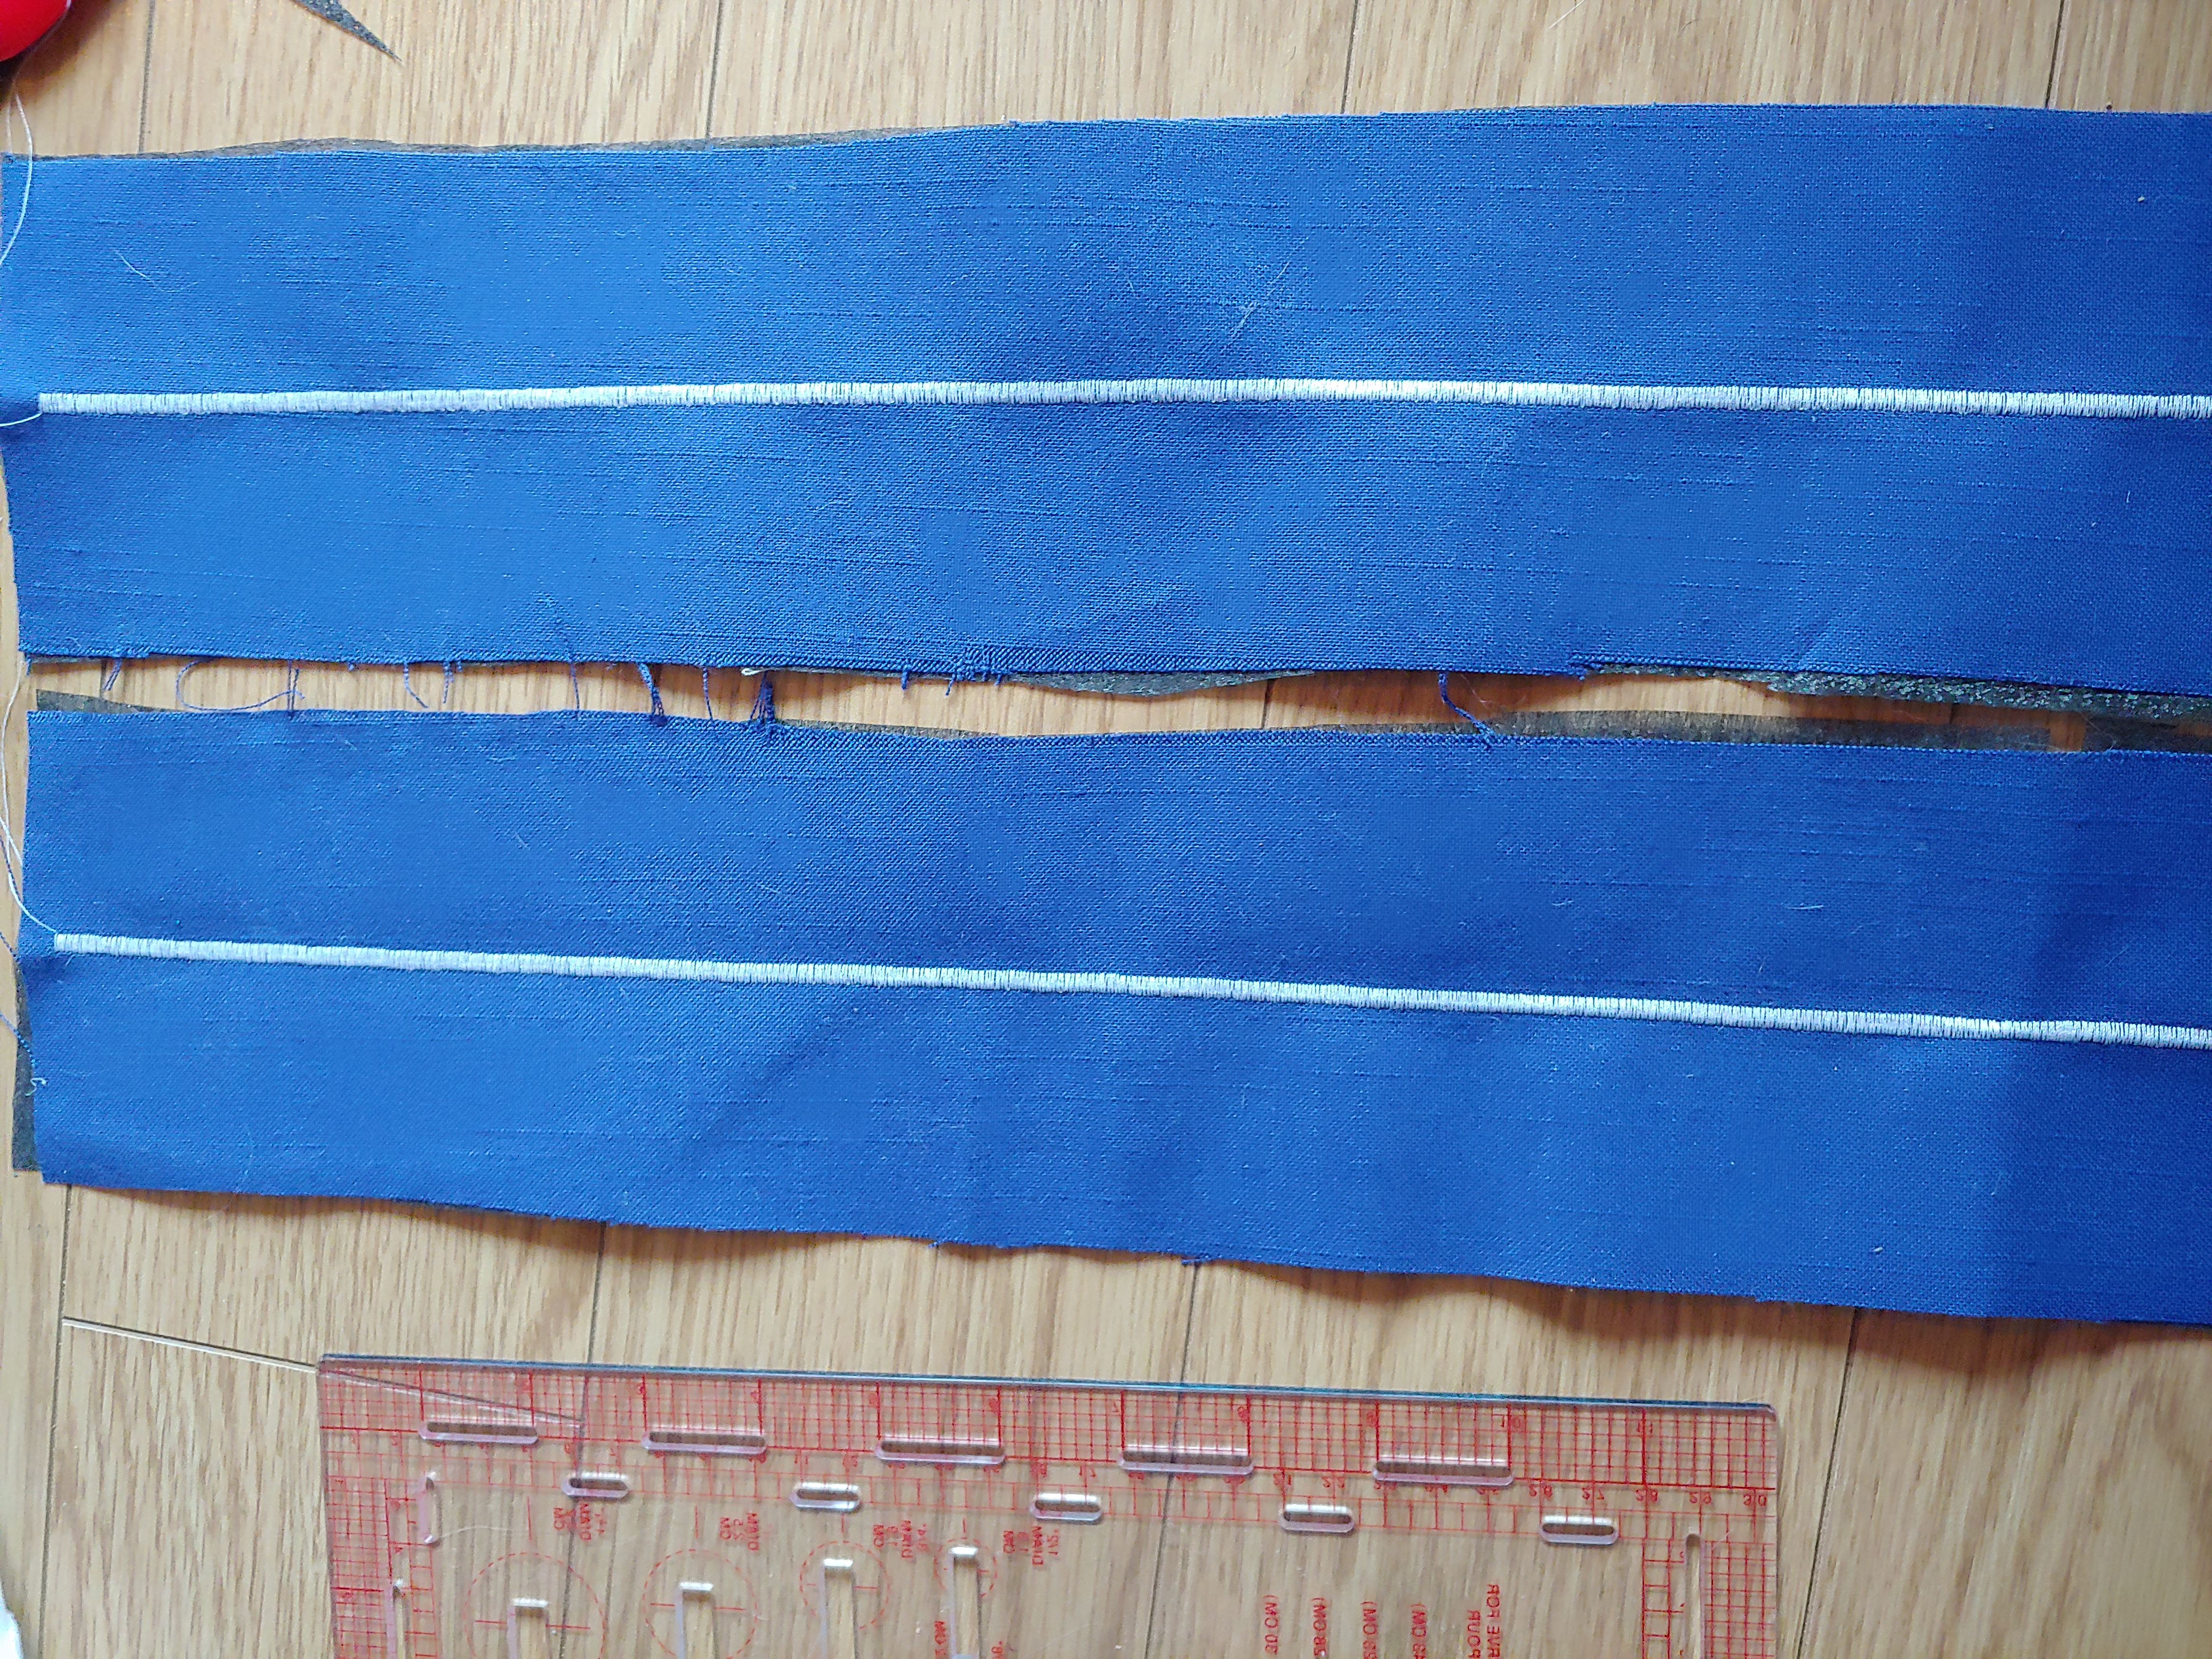
Using the line you drew down the middle of the rectangles as a stitching guide, sew a stripe down the middle with that tight zig-zag stitch. If you want to use ribbon or bias tape instead of stitching it that’s fine too, I just like the embroidered look. The method is almost the same, just grab some wonder tape or spray glue to hold the ribbon/bias tape securely in place on the line while you sew it down so that it’s easy to work with. Then use a straight stitch to attach it instead of a zig-zag.
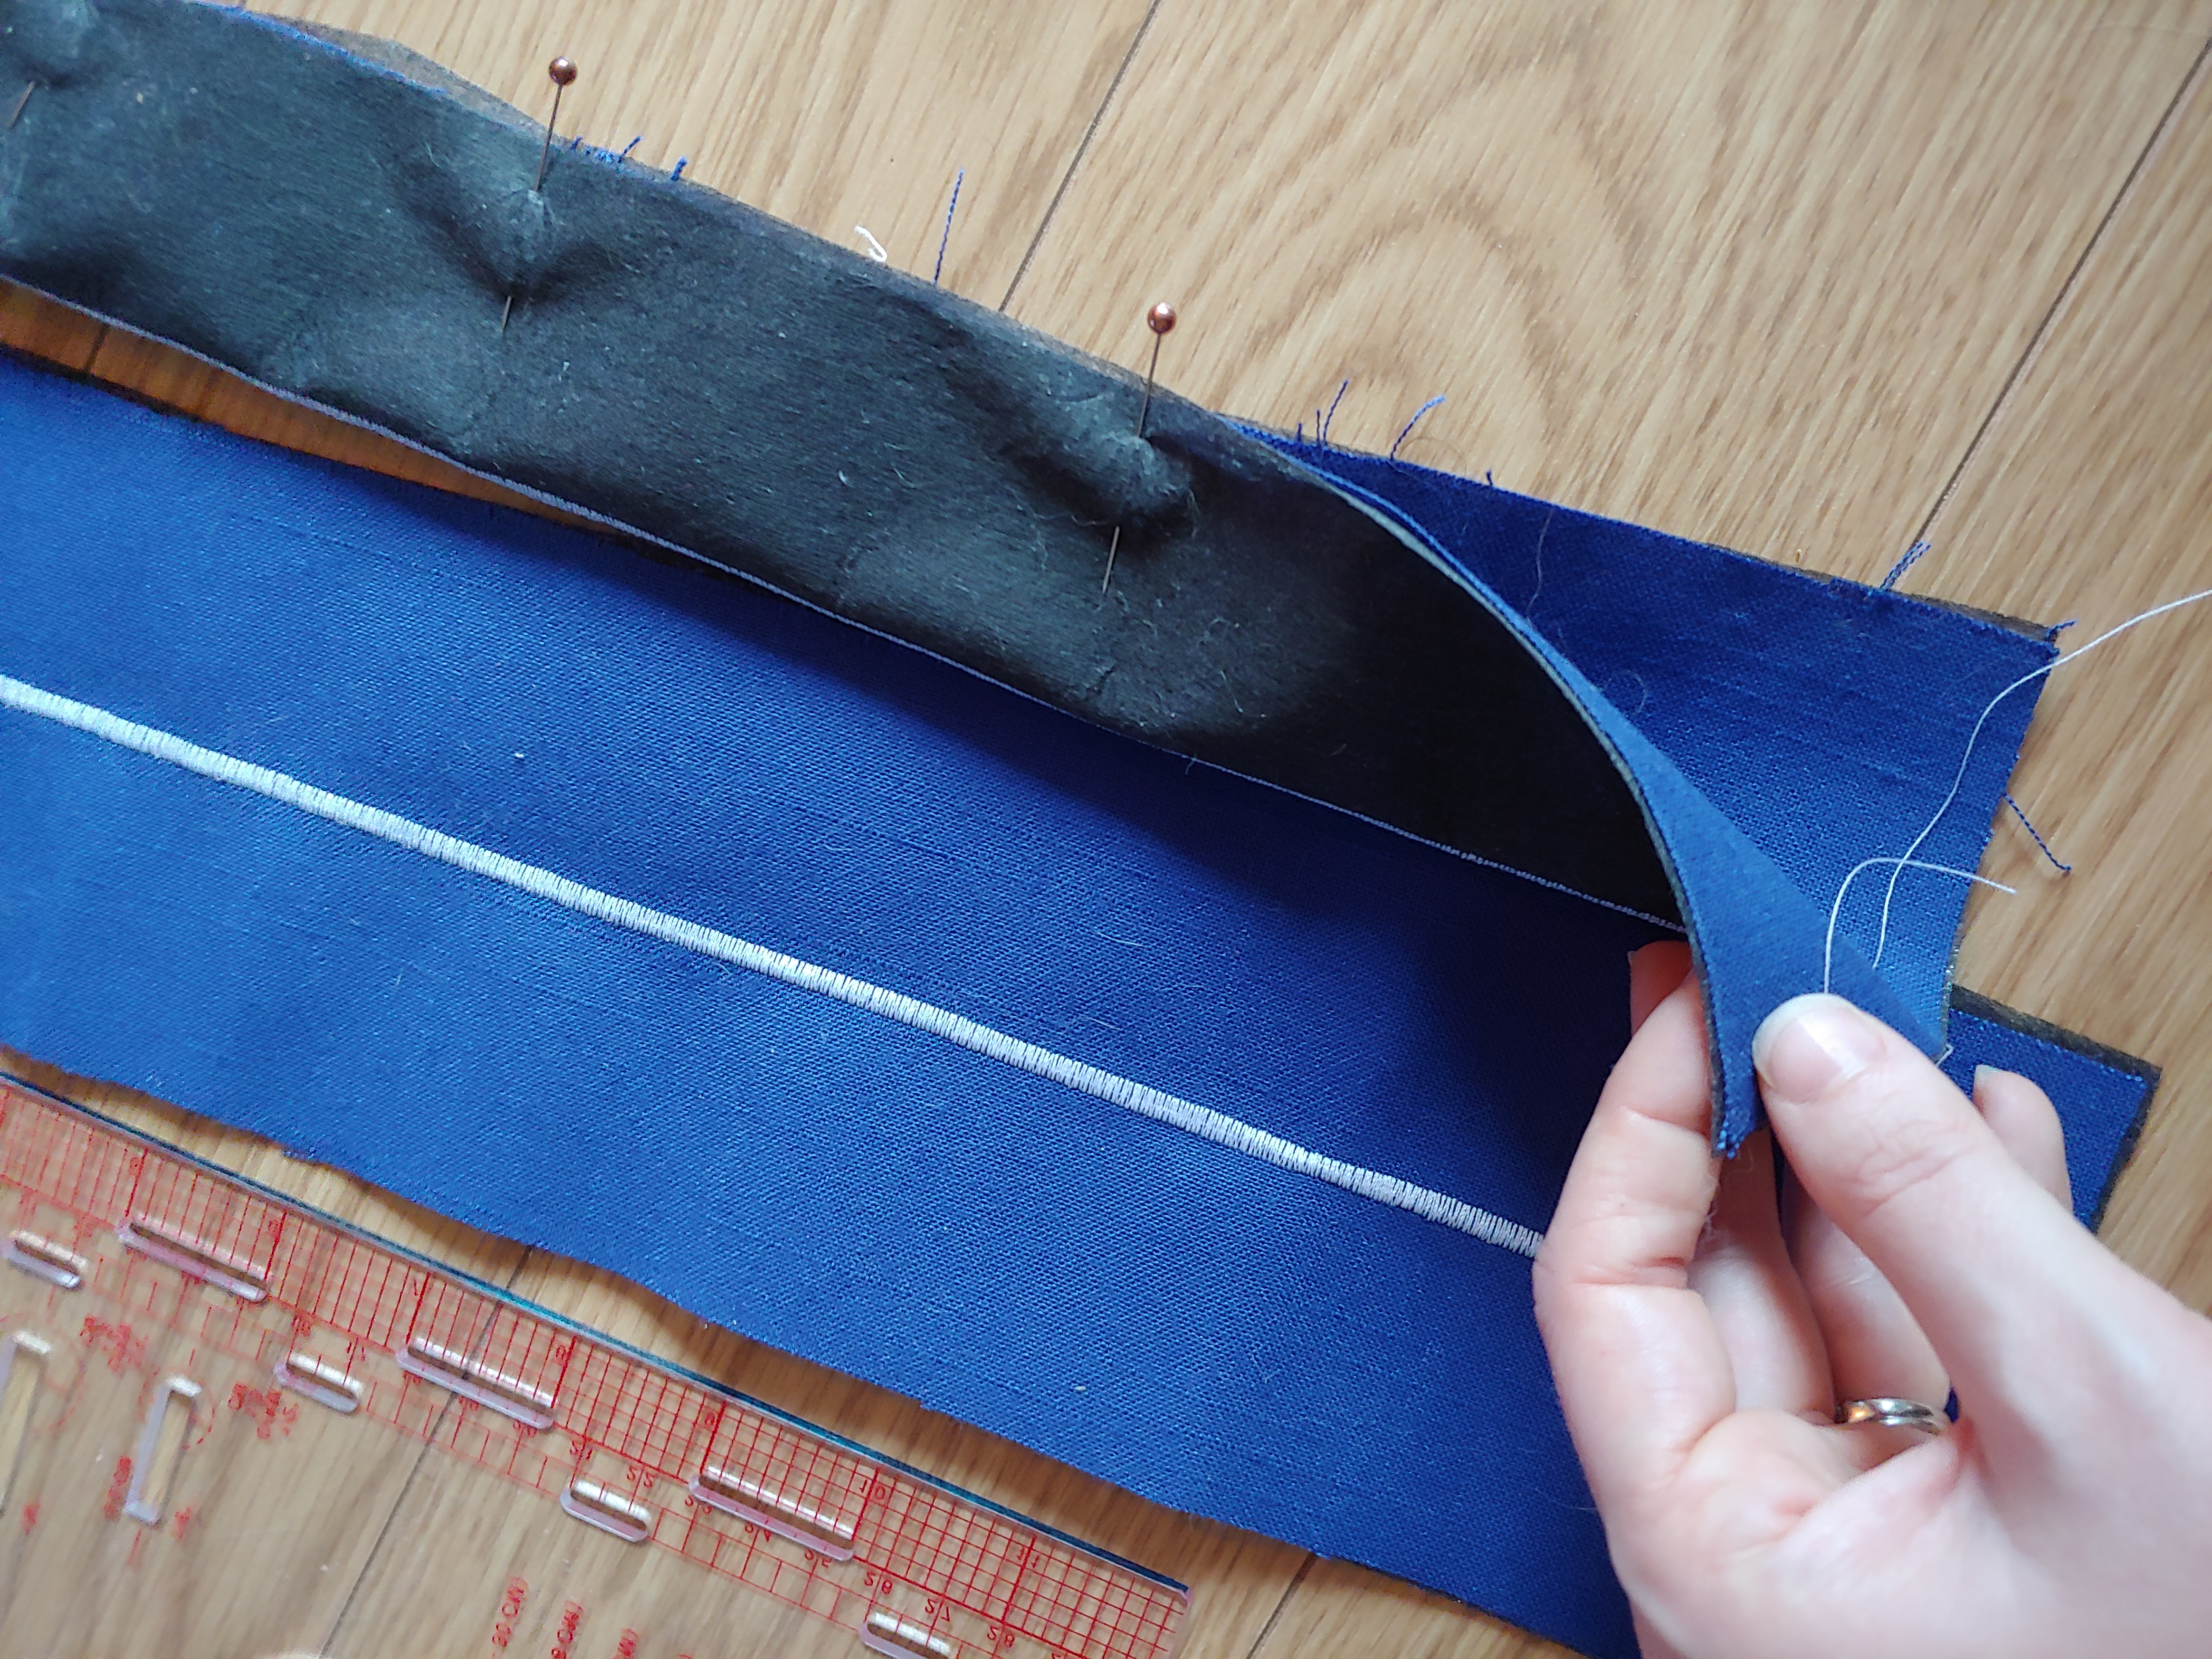
Once your stripe is sewn, fold the rectangle in half longways so that the interfacing is on the outside and pin the cut edge for sewing. Using a straight stitch sew along the cut edge with a 1.5cm seam allowance. Do the same for the second rectangle, and then iron the seams open so that they sit nice and flat.
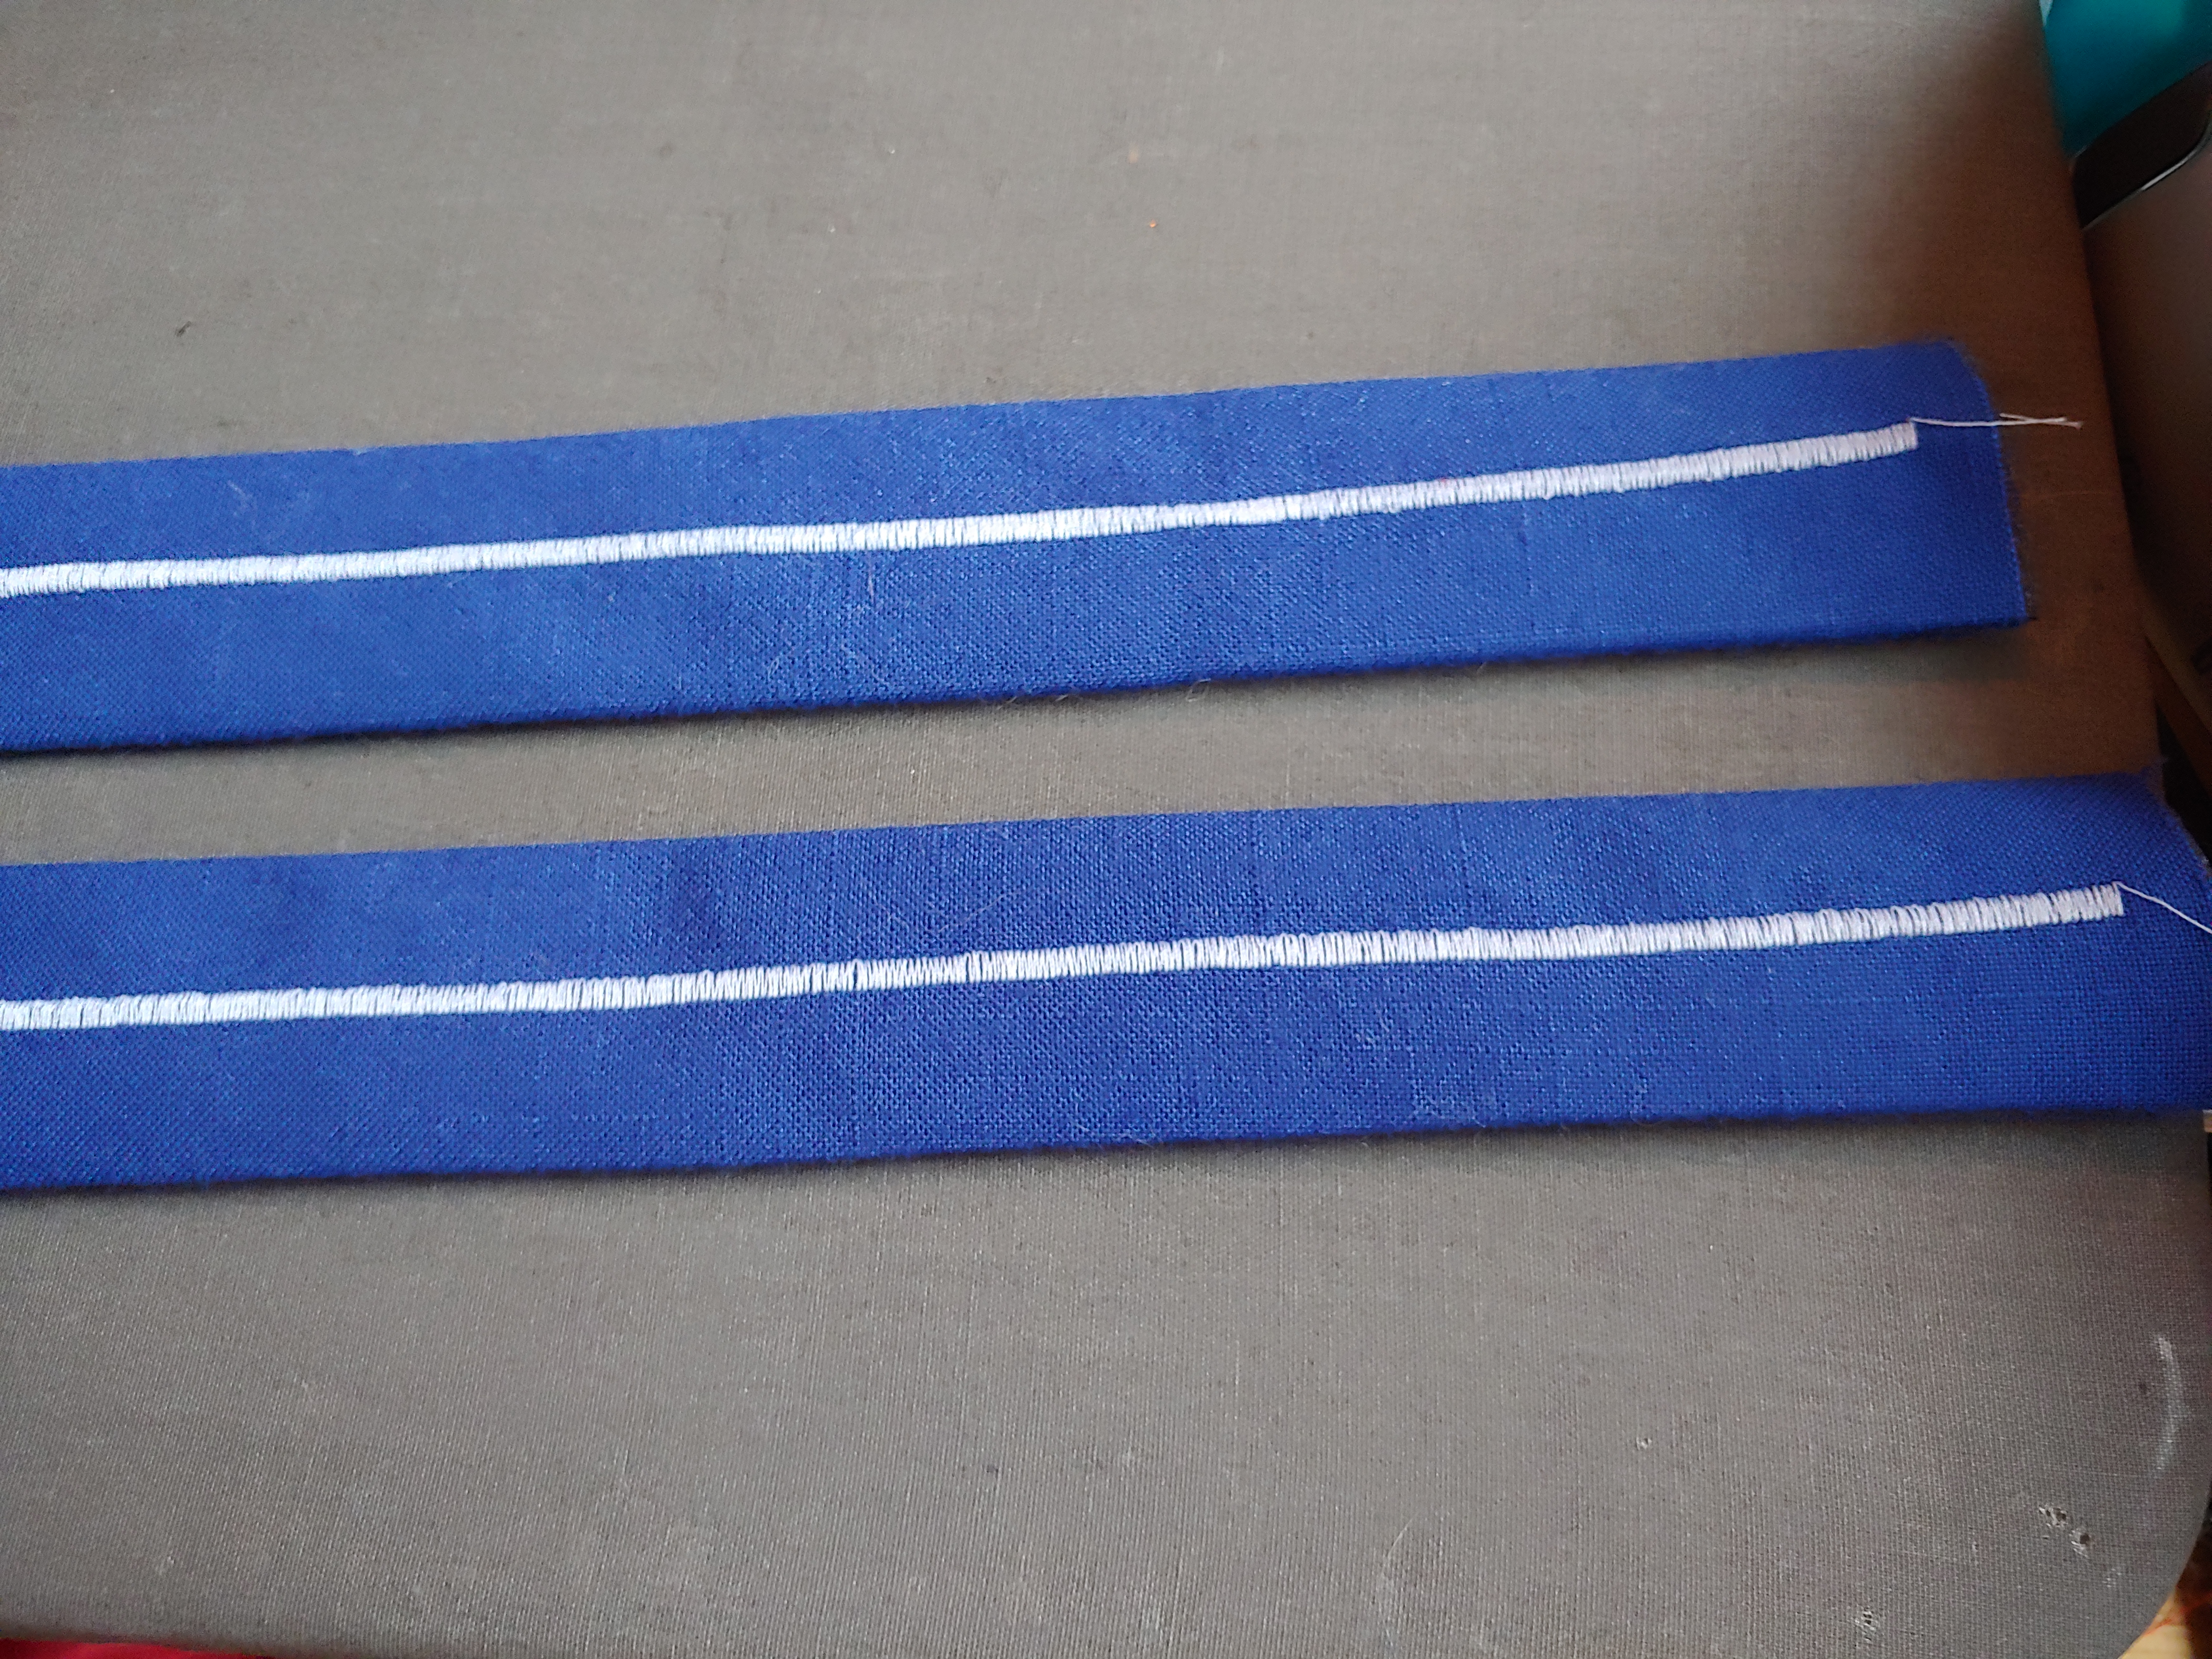
Flip the tubes inside out! Actually, they were already inside out, flip them… outside out? … right side out? … Just make it so that the pretty part is on the outside again. Then press them nice and flat.
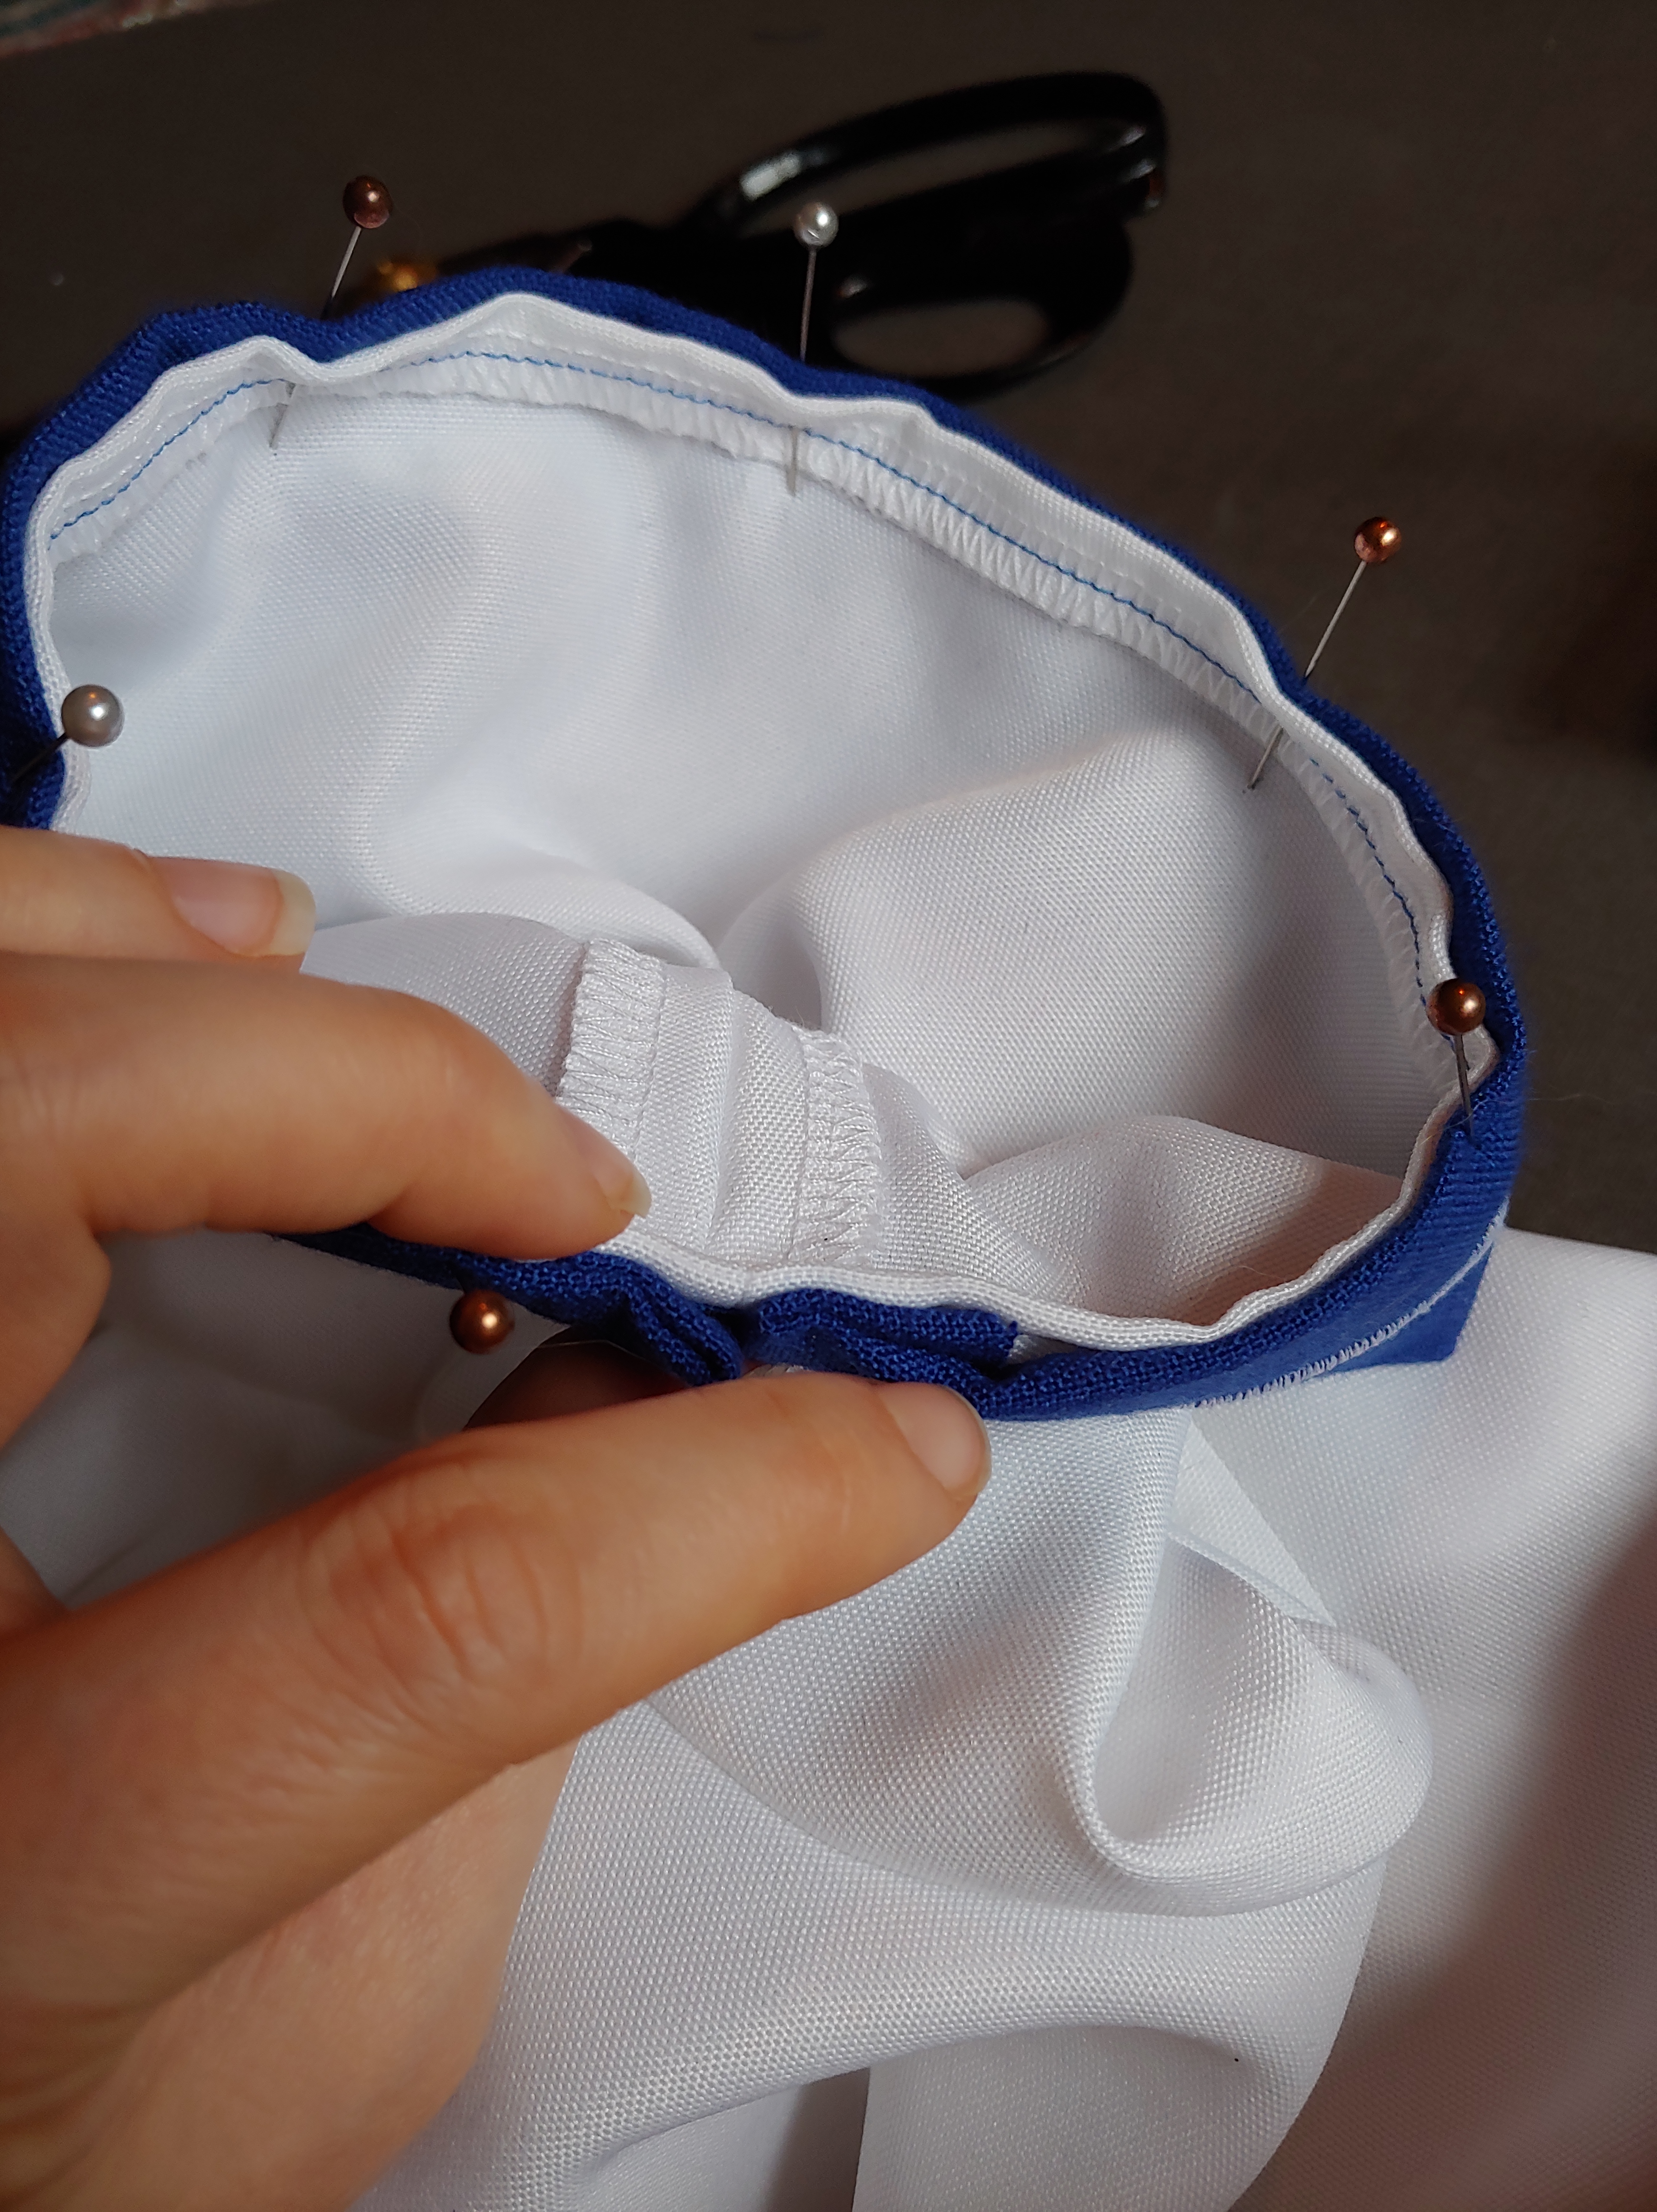 Grab the shirt you’re going to sew these cuffs onto, (make sure that the sleeve has already been hemmed to the length you want it, and that it has a nice clean edge), and pin your new cuff to the outside edge of the sleeve, tucking under the seam allowance where your ends meet. Try to line up the seam in the cuff with the sleeve seam. This will hide the seam from view in most cases, but if your sleeve is a long one, it will just make you look like a pro.
 Run one line of stitching through both the sleeve fabric and the cuff fabric 3-4mm from the side with the opening. Run a second line of stitching the same distance from the other edge of the cuff, but this time only sewing through the cuff itself. By sewing through the cuff only, it doesn’t matter if the sleeve tapers or changes shape farther up, and both sides will still look uniform.

We’re almost done! Grab a needle and thread, and do an invisible hand stitch to close that last seam in the cuff. Tie it off with a good strong knot and you’re done!!

