Anyone who has ever cosplayed can agree that wearing clothes without pockets is the second-worst. Know what is even more terrible? Wearing clothes without pockets at the same time as trying to carry a cool prop and all the sweet merch you’ve just bought. The nice thing is that making pockets is super easy, and you can hide them by sewing them onto liners, or by putting them in places where they will be underneath other layers of your costume.
What you need:
-
- Fabric
- Thread
- Iron
- Pins
- Scissors
- Sewing Machine
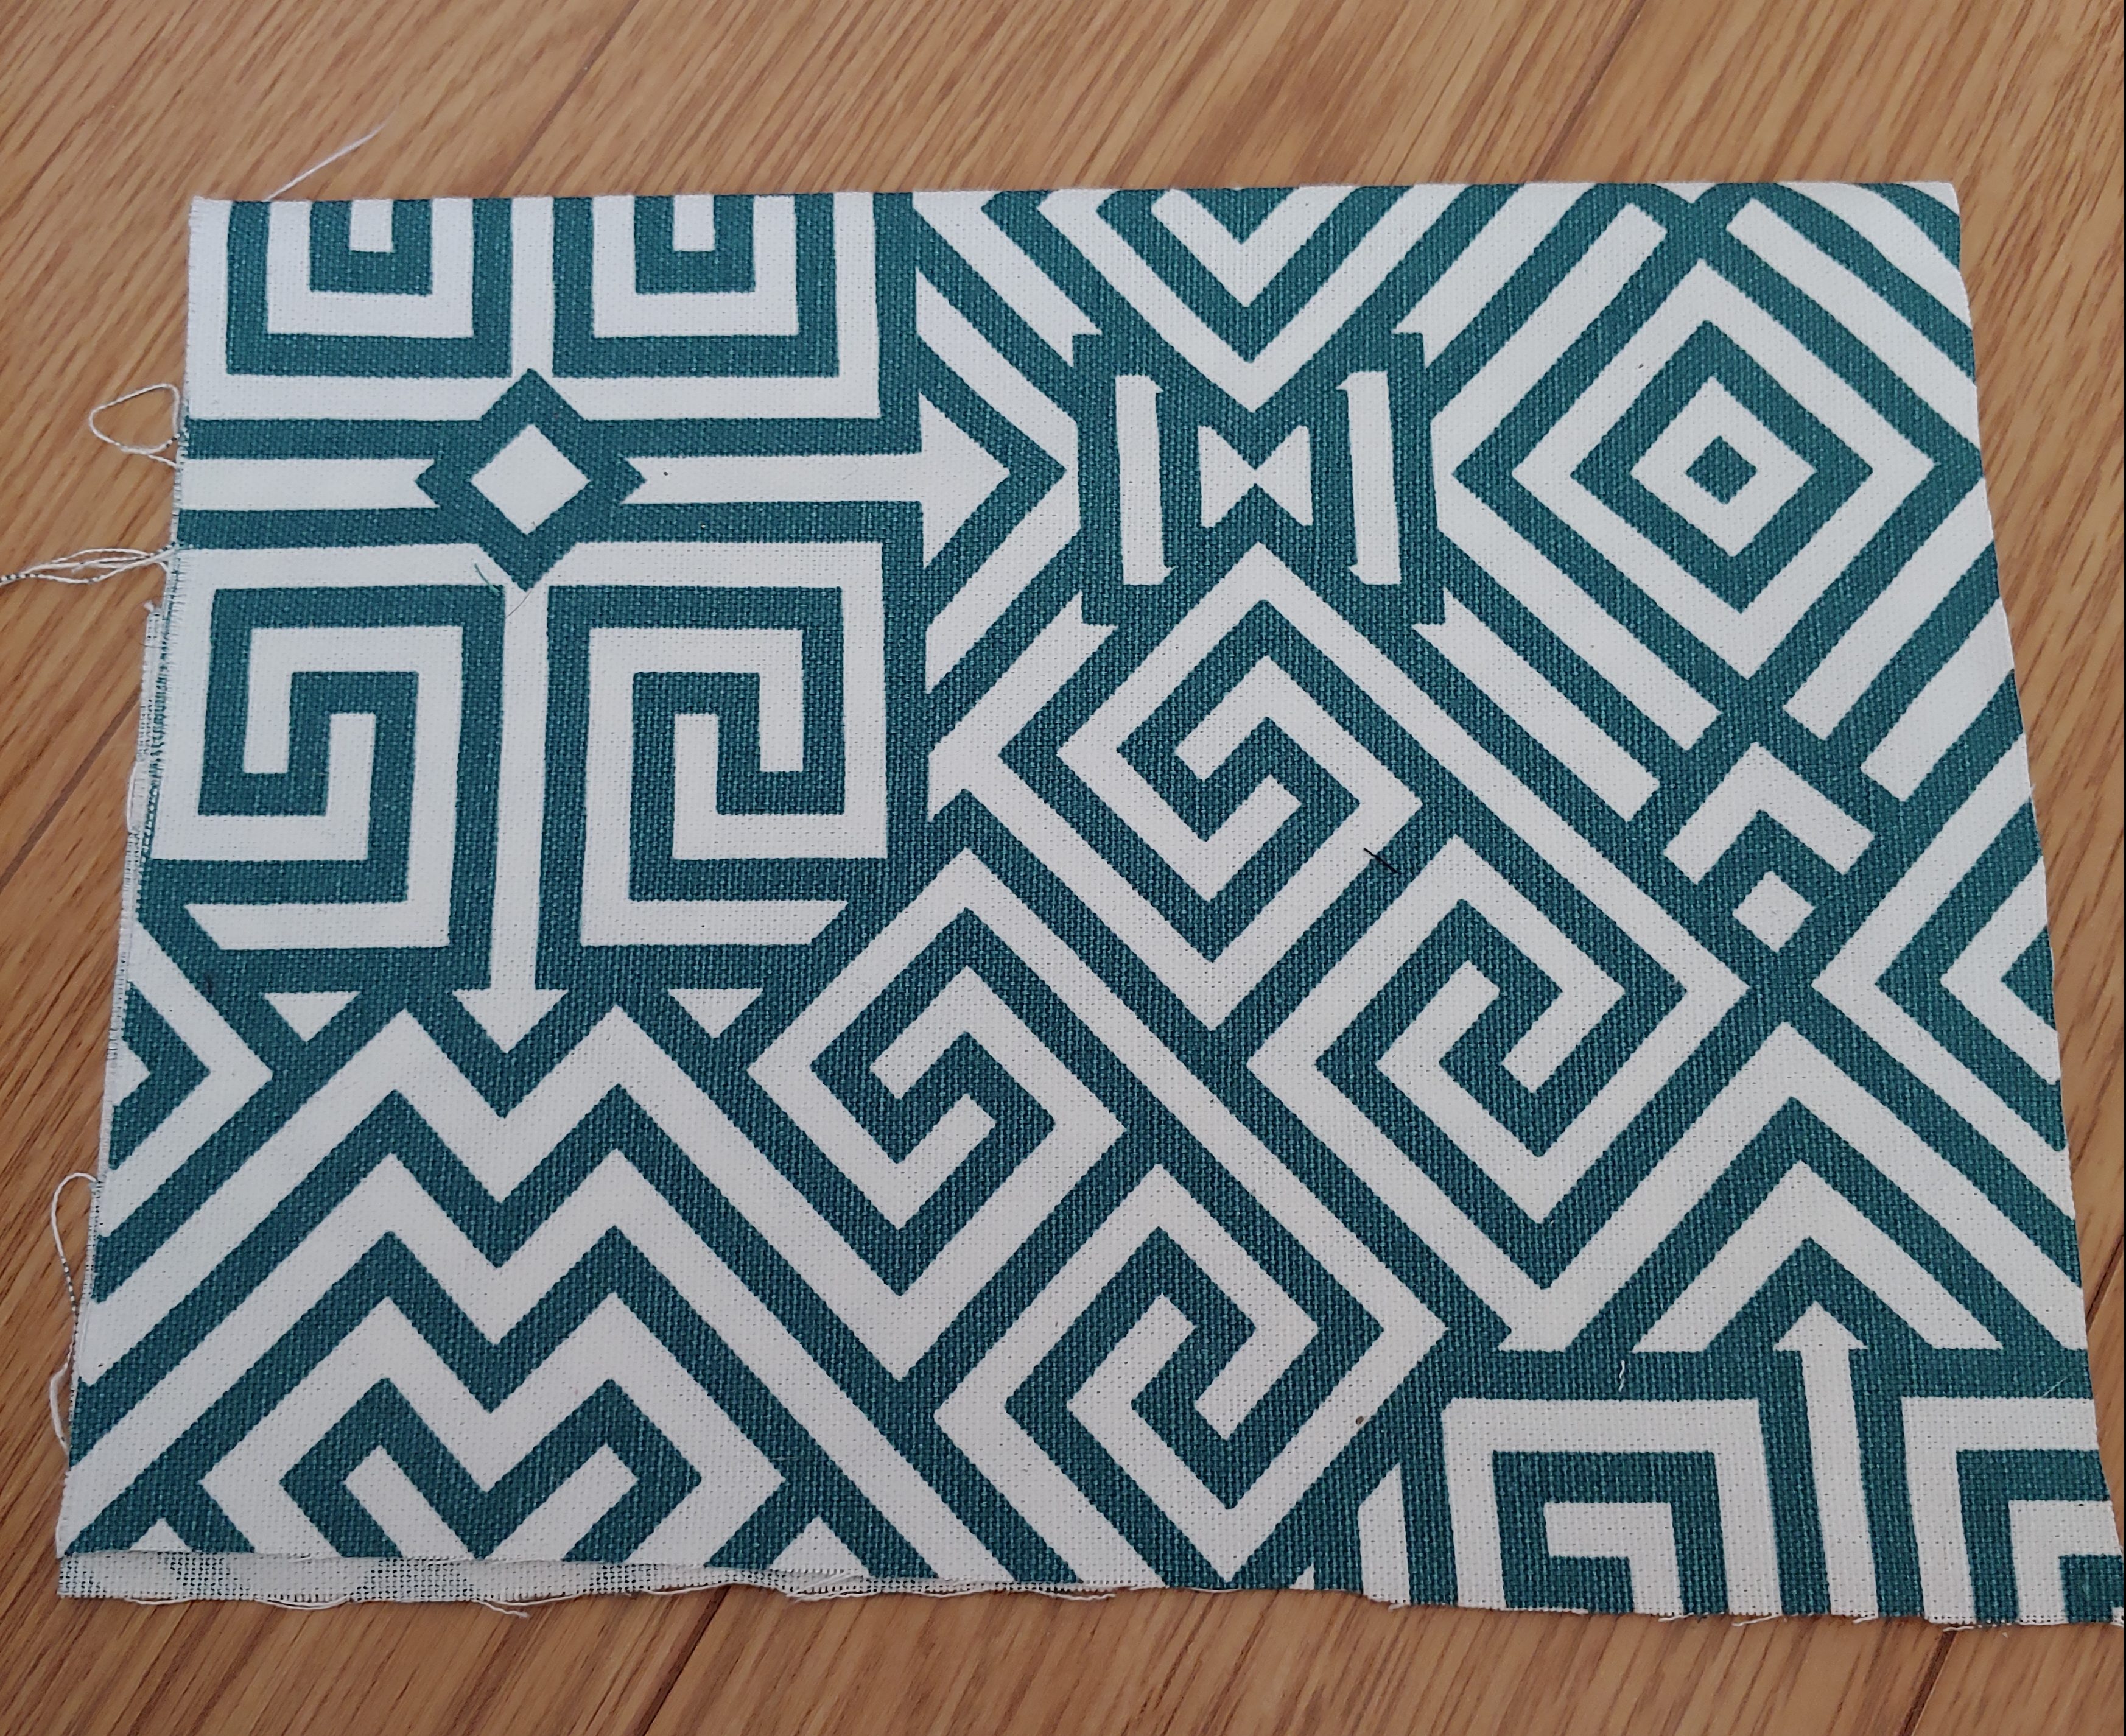
The first thing you need to do is to get your hands on the fabric you want to use for your pocket. This piece is just some scrap that I had lying around. Fold the fabric in half. The folded edge will be the top opening of the pocket, so choose where you fold with that in mind.

The next step is to cut your fabric into the shape you want your pocket to be. I would recommend cutting it out of some paper in the size you want first then adding 1.5cm for a seam allowance on all sides excluding the top of the pocket. I did not make a pattern in this case because I just wanted the biggest pocket that I could get out of this fabric scrap.
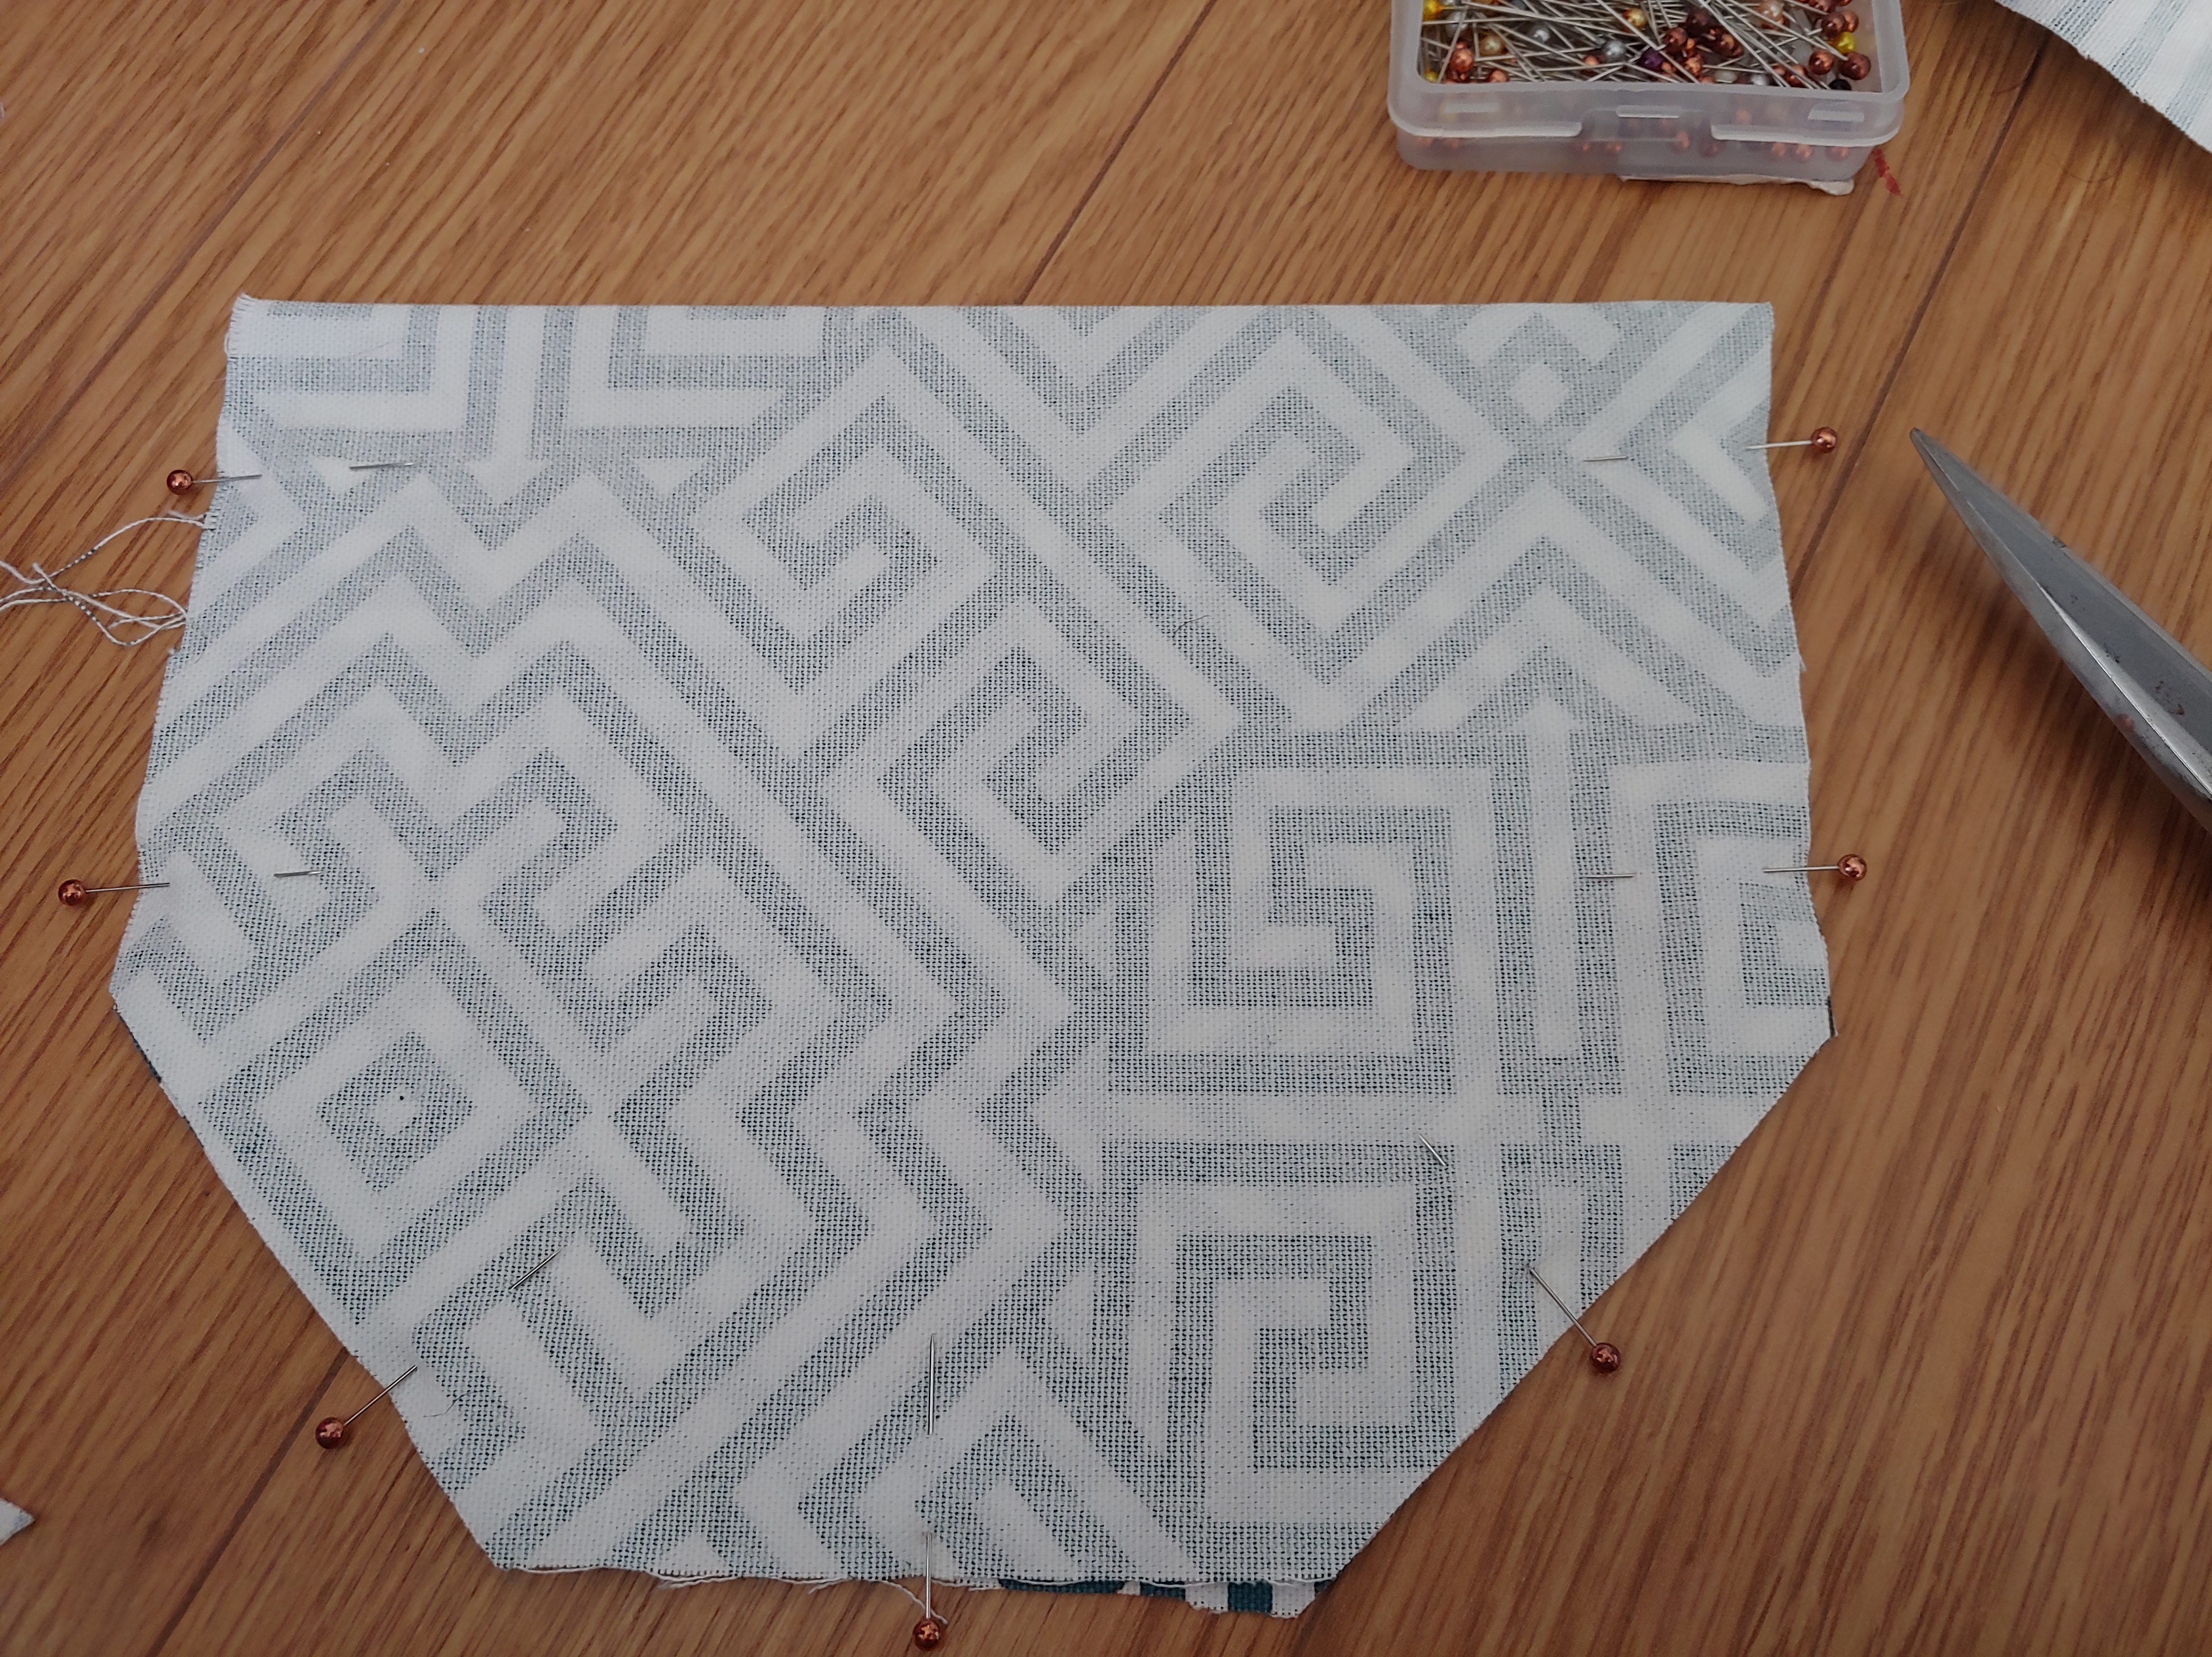
Once the fabric is cut it is time to flip it inside out so that the pretty sides are hidden, carefully line up all of your edges and pin them together.
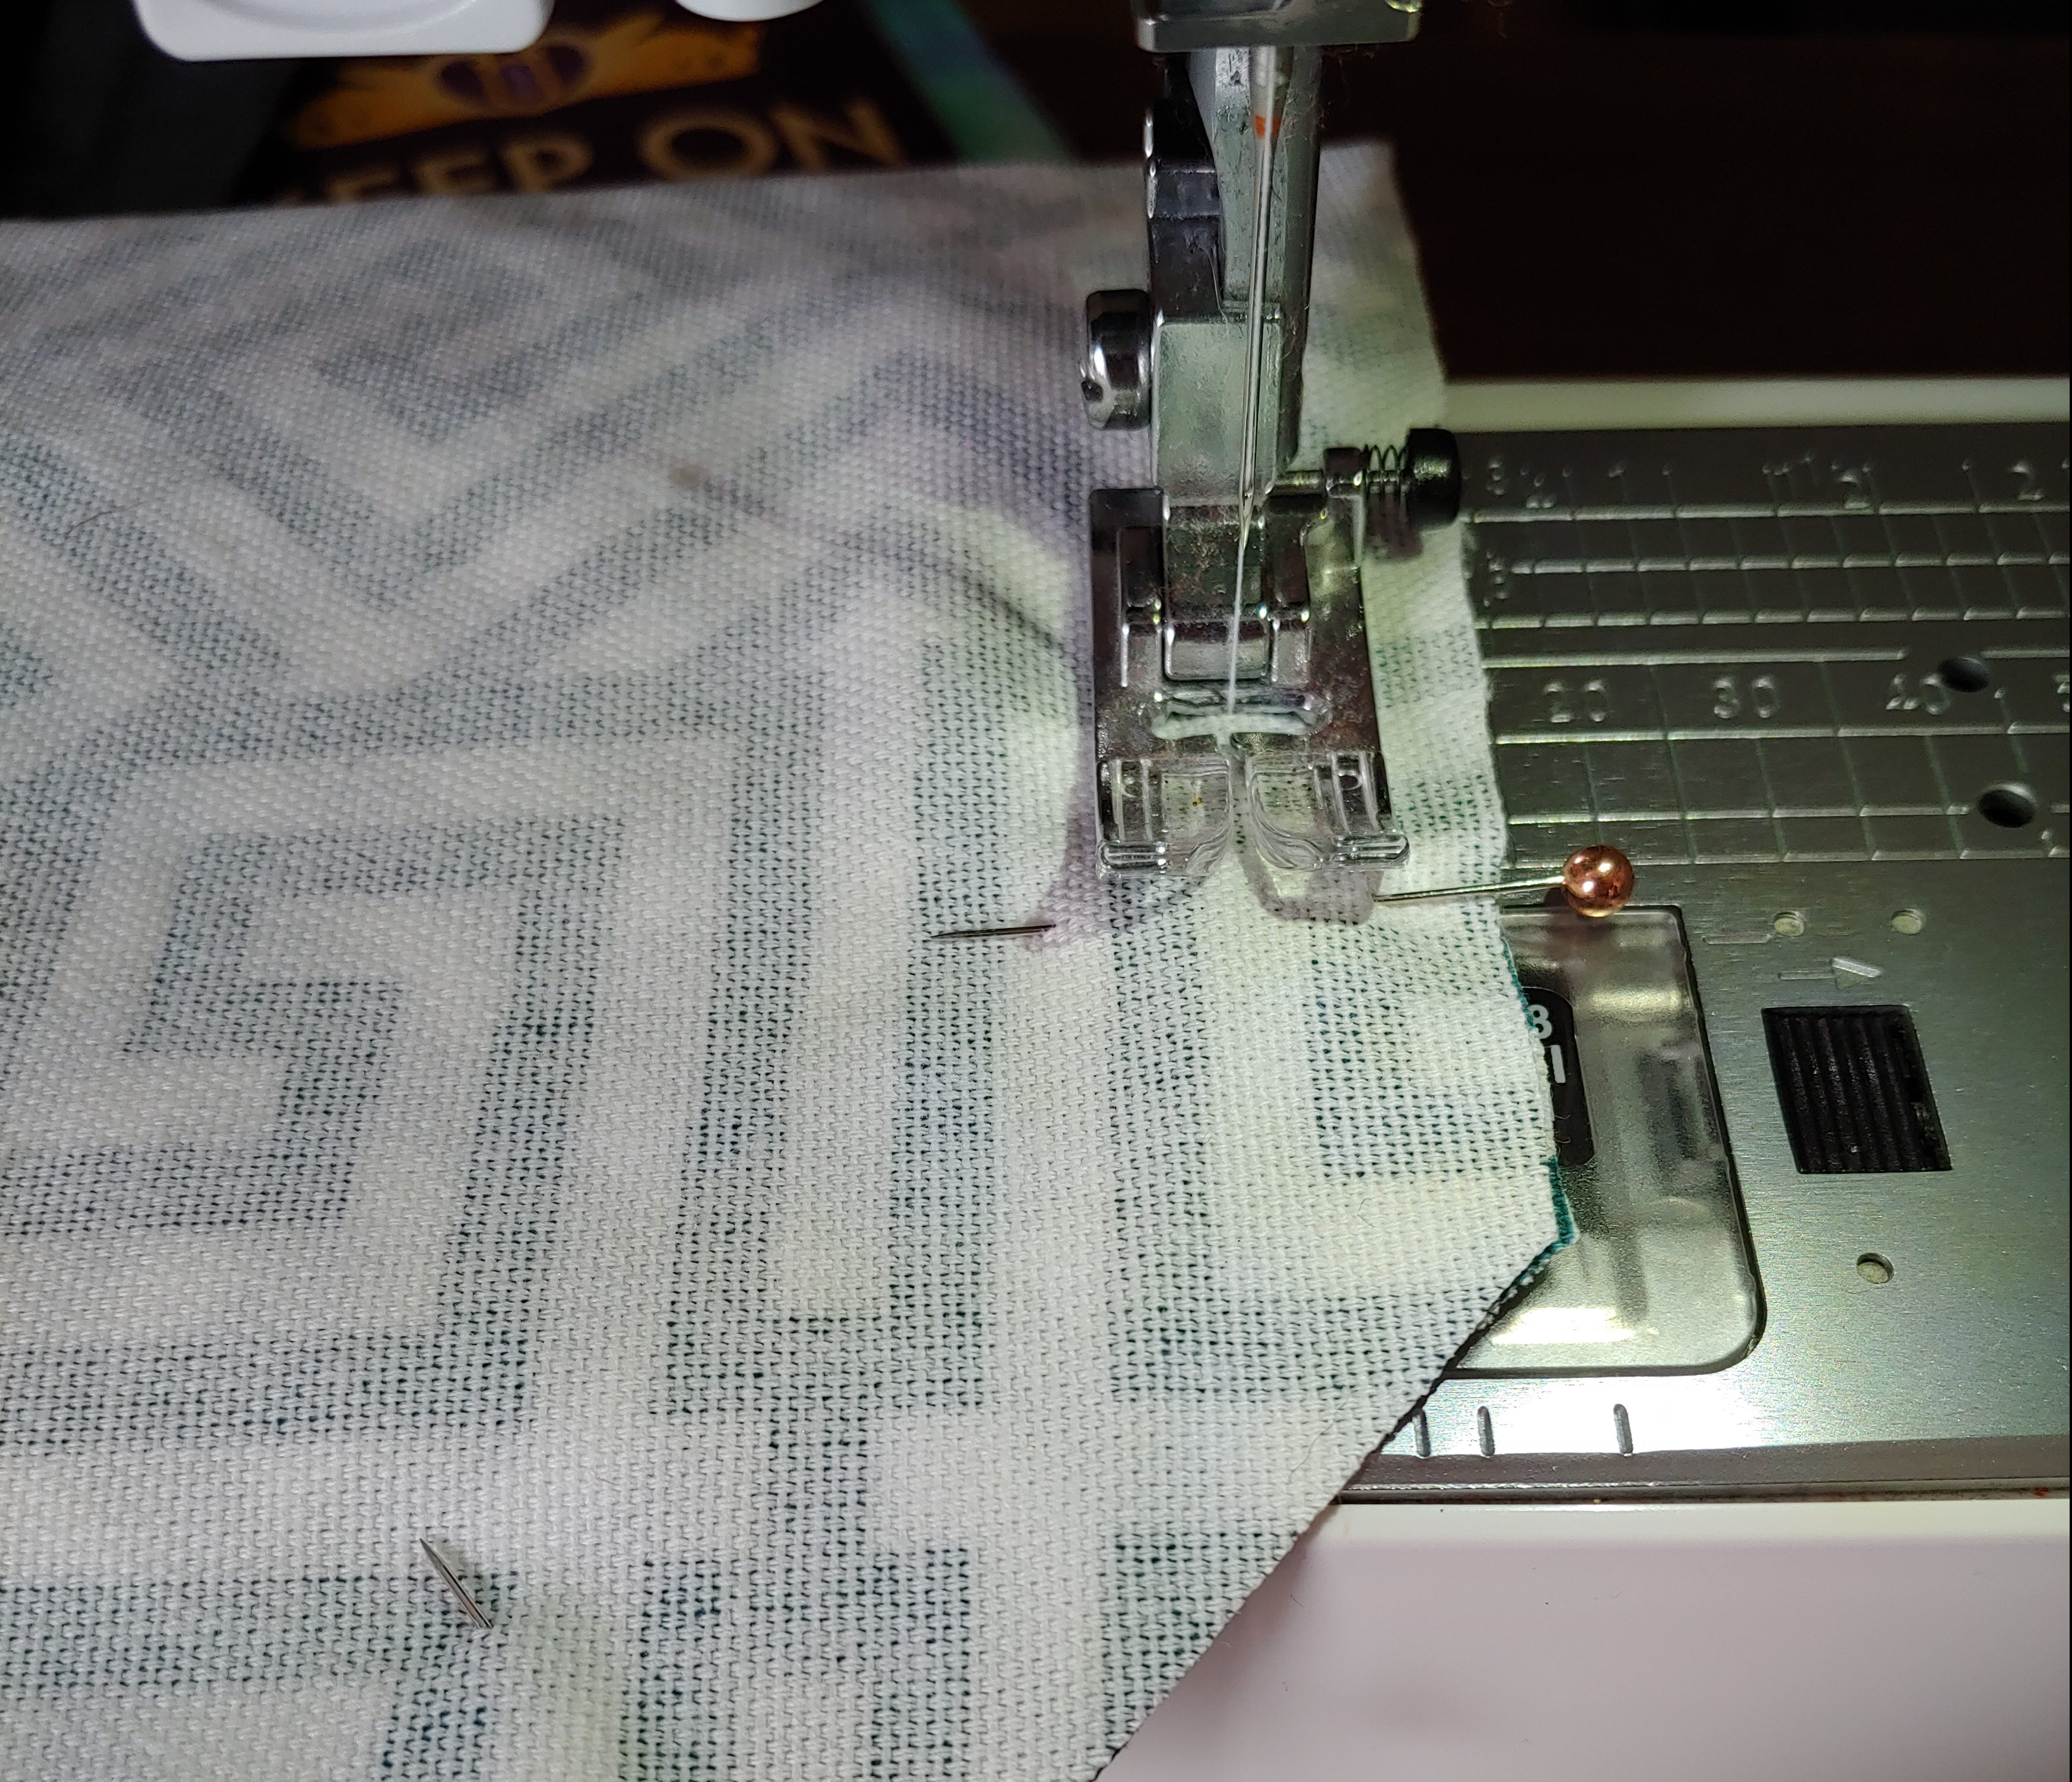
Sew around the pinned sides 1.5cm from the edges of the fabric but when you go to sew the bottom, plan to leave a gap that is at least 3cm wide.
Be sure to do a knot or some backstitching on either side of the gap. The result will be that the sides of your pocket are sewn shut, but there’s a little hole in the bottom. Don’t worry, it’ll be closed later.
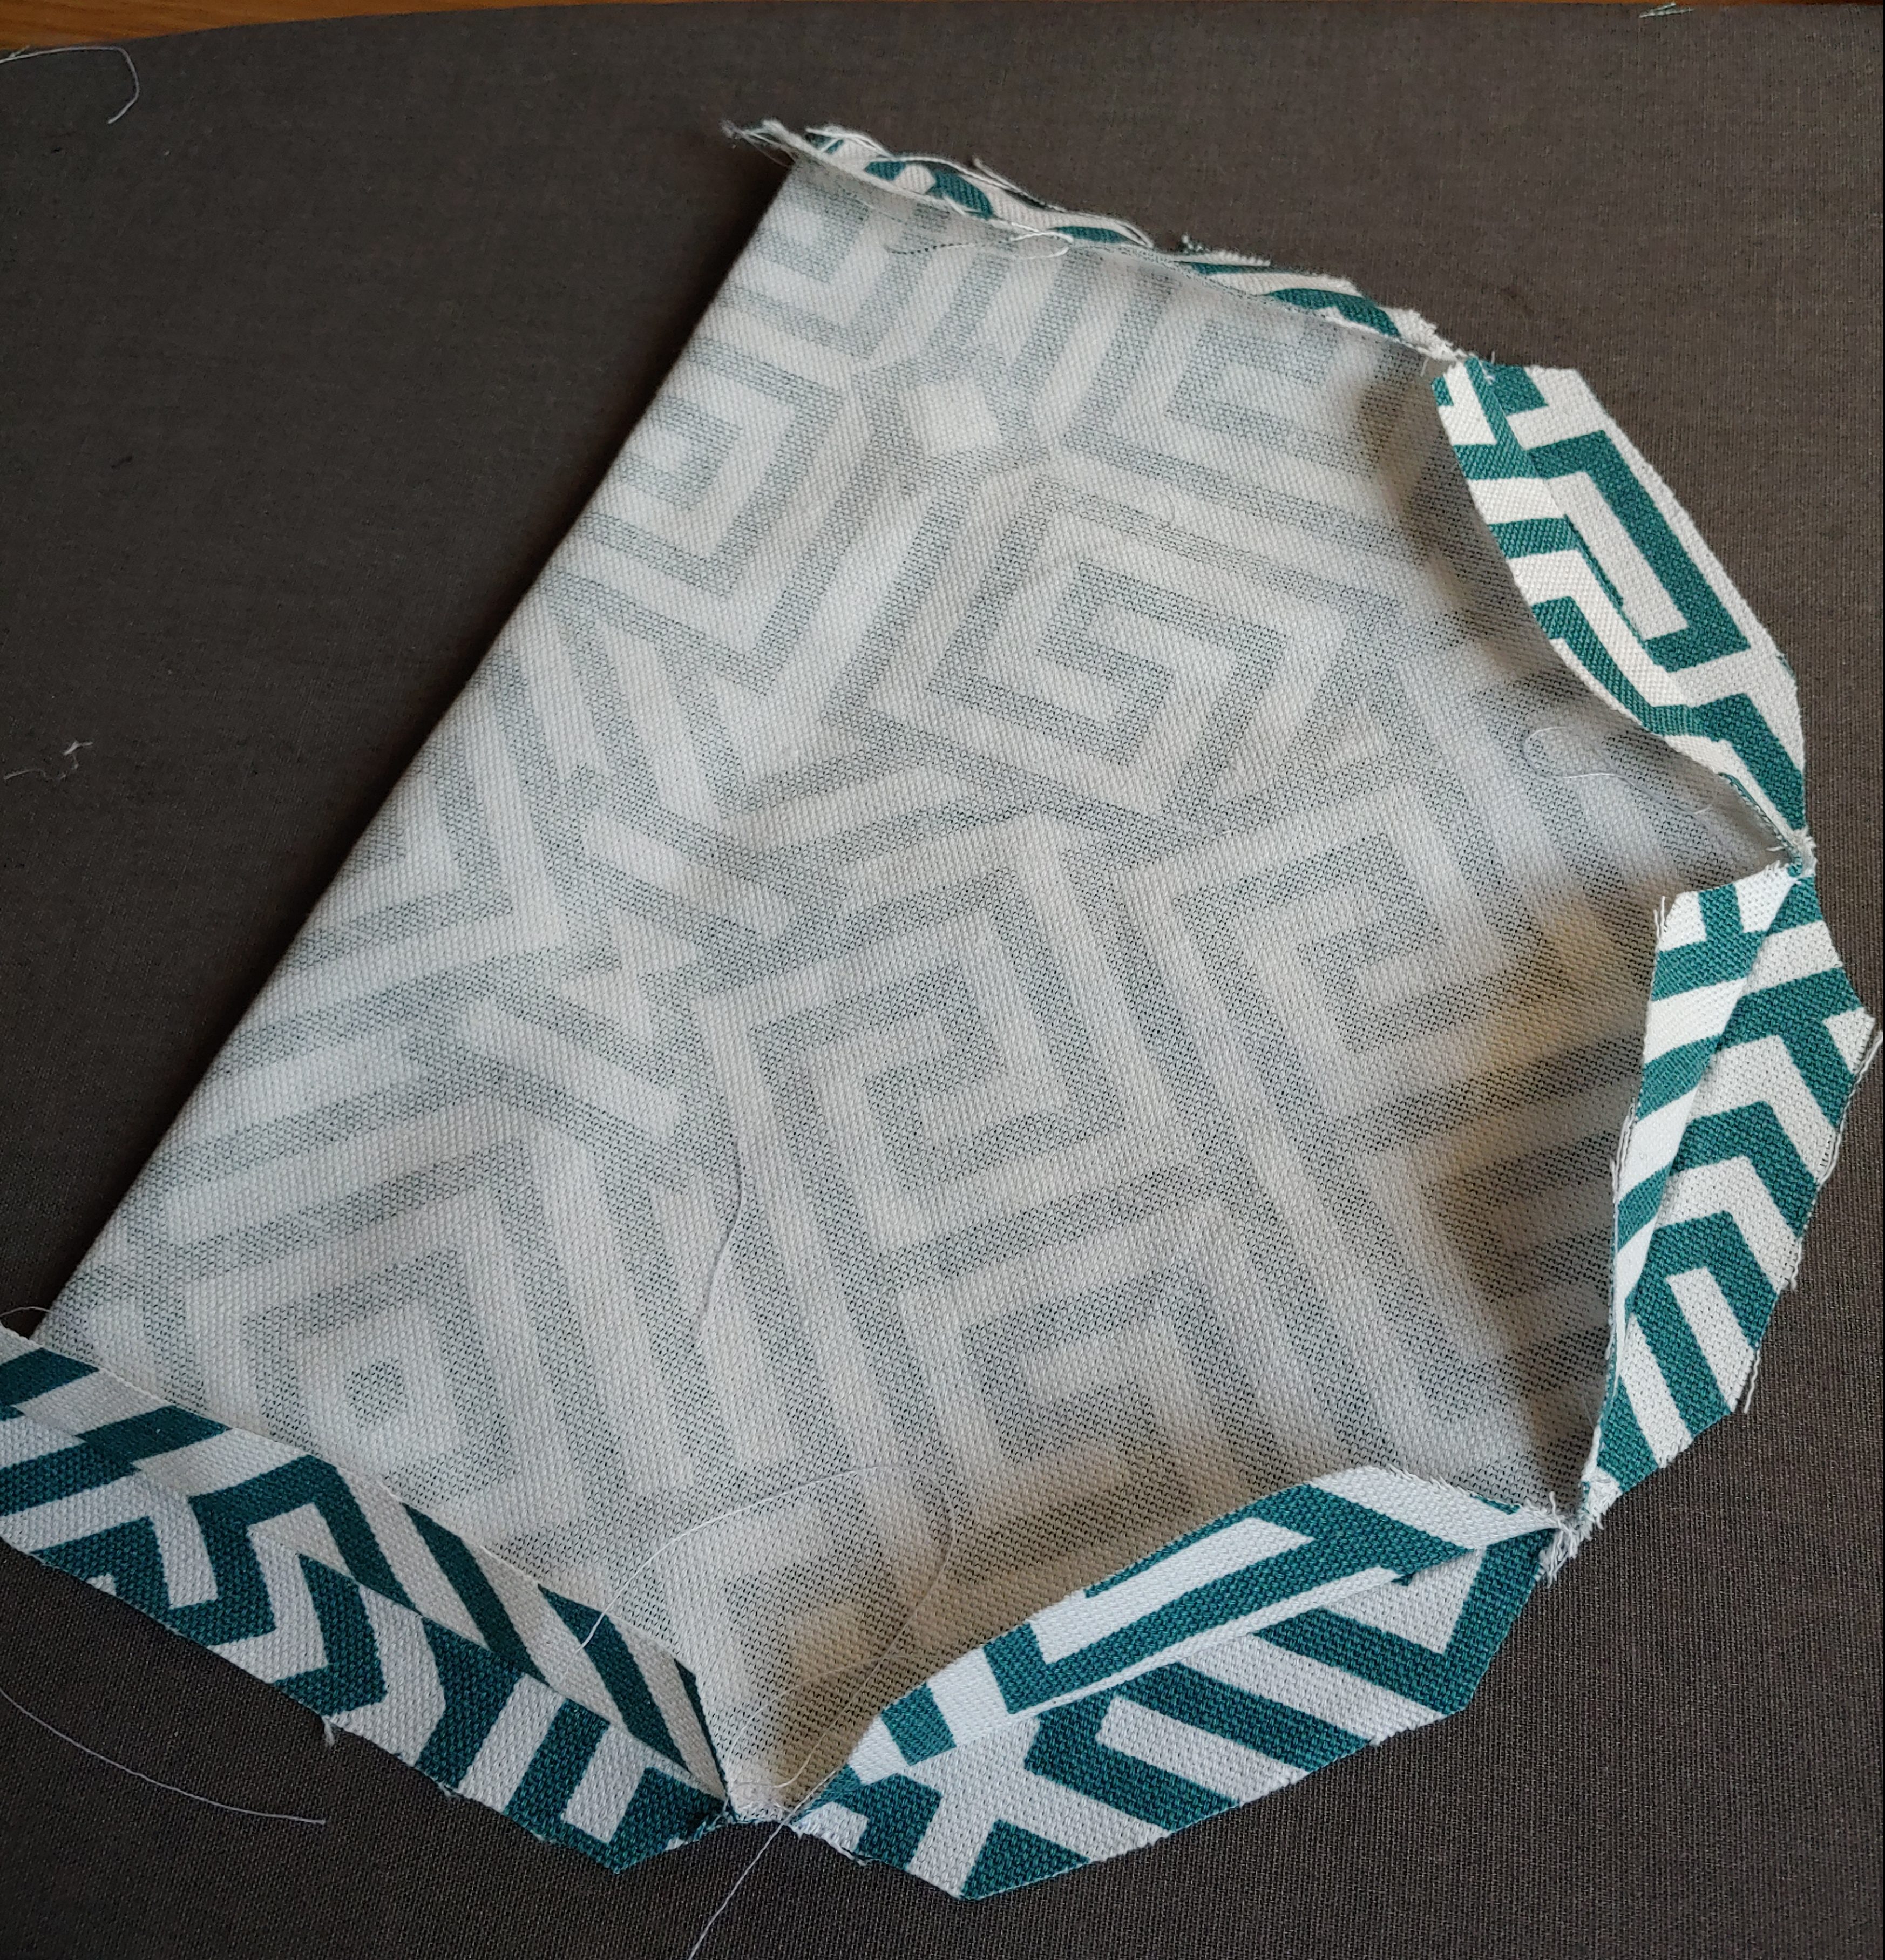
Next, you need to clip any corners or curves you’ve put on the pocket. This will eliminate bulk in your seams, making your pocket look nicer, and making it easier to attach to the final garment. Once the curves/corners are clipped you need to iron the seams open (it’s not fun, but it makes you look like a sewing genius).

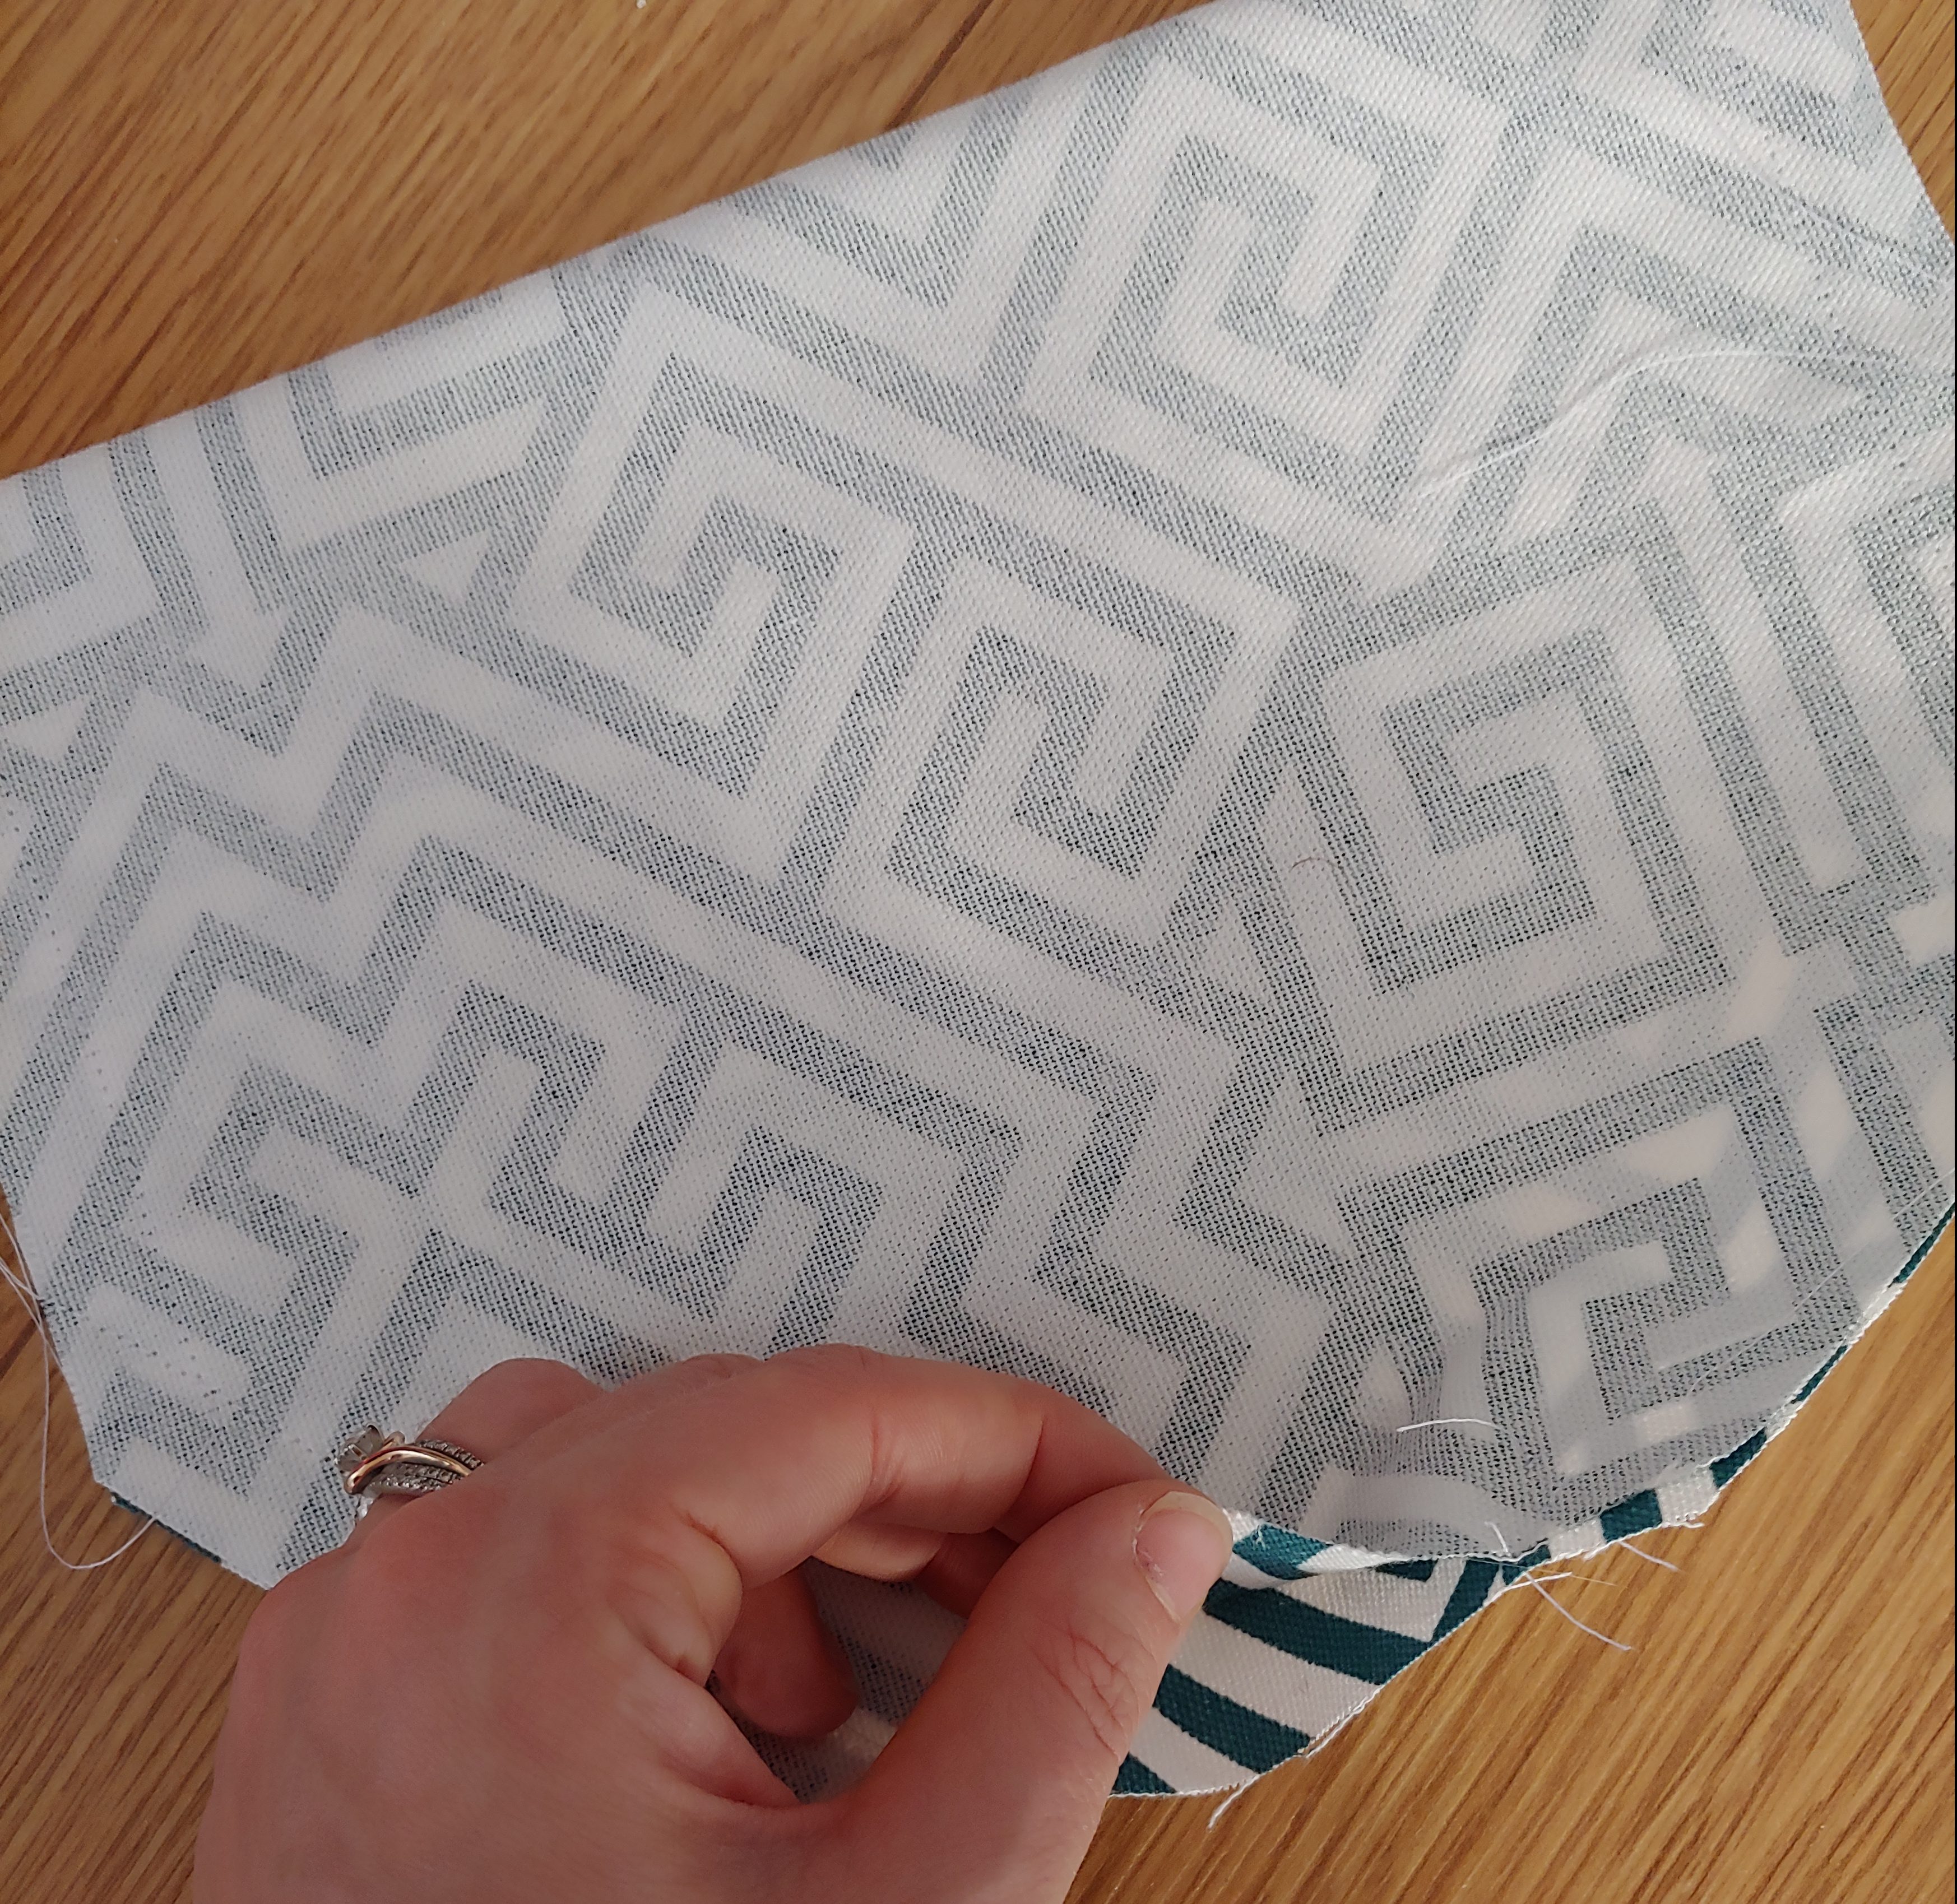
Ready for the big reveal? Pull the pretty side of the pocket out through the gap that was left un-sewn, so that it is no longer inside out. You can use a pencil on the inside to push any of your corners out to nice crispy points and tuck the seam allowance back through the little gap at the bottom.

Iron your pocket so that it is nice and flat again, and pin it onto something (mine is going on the side of a bag), leaving that top folded edge unpinned. Sew around all the pinned sides 2-3mm from the edge. This will invisibly close up the gap used to pull the pocket right side out.
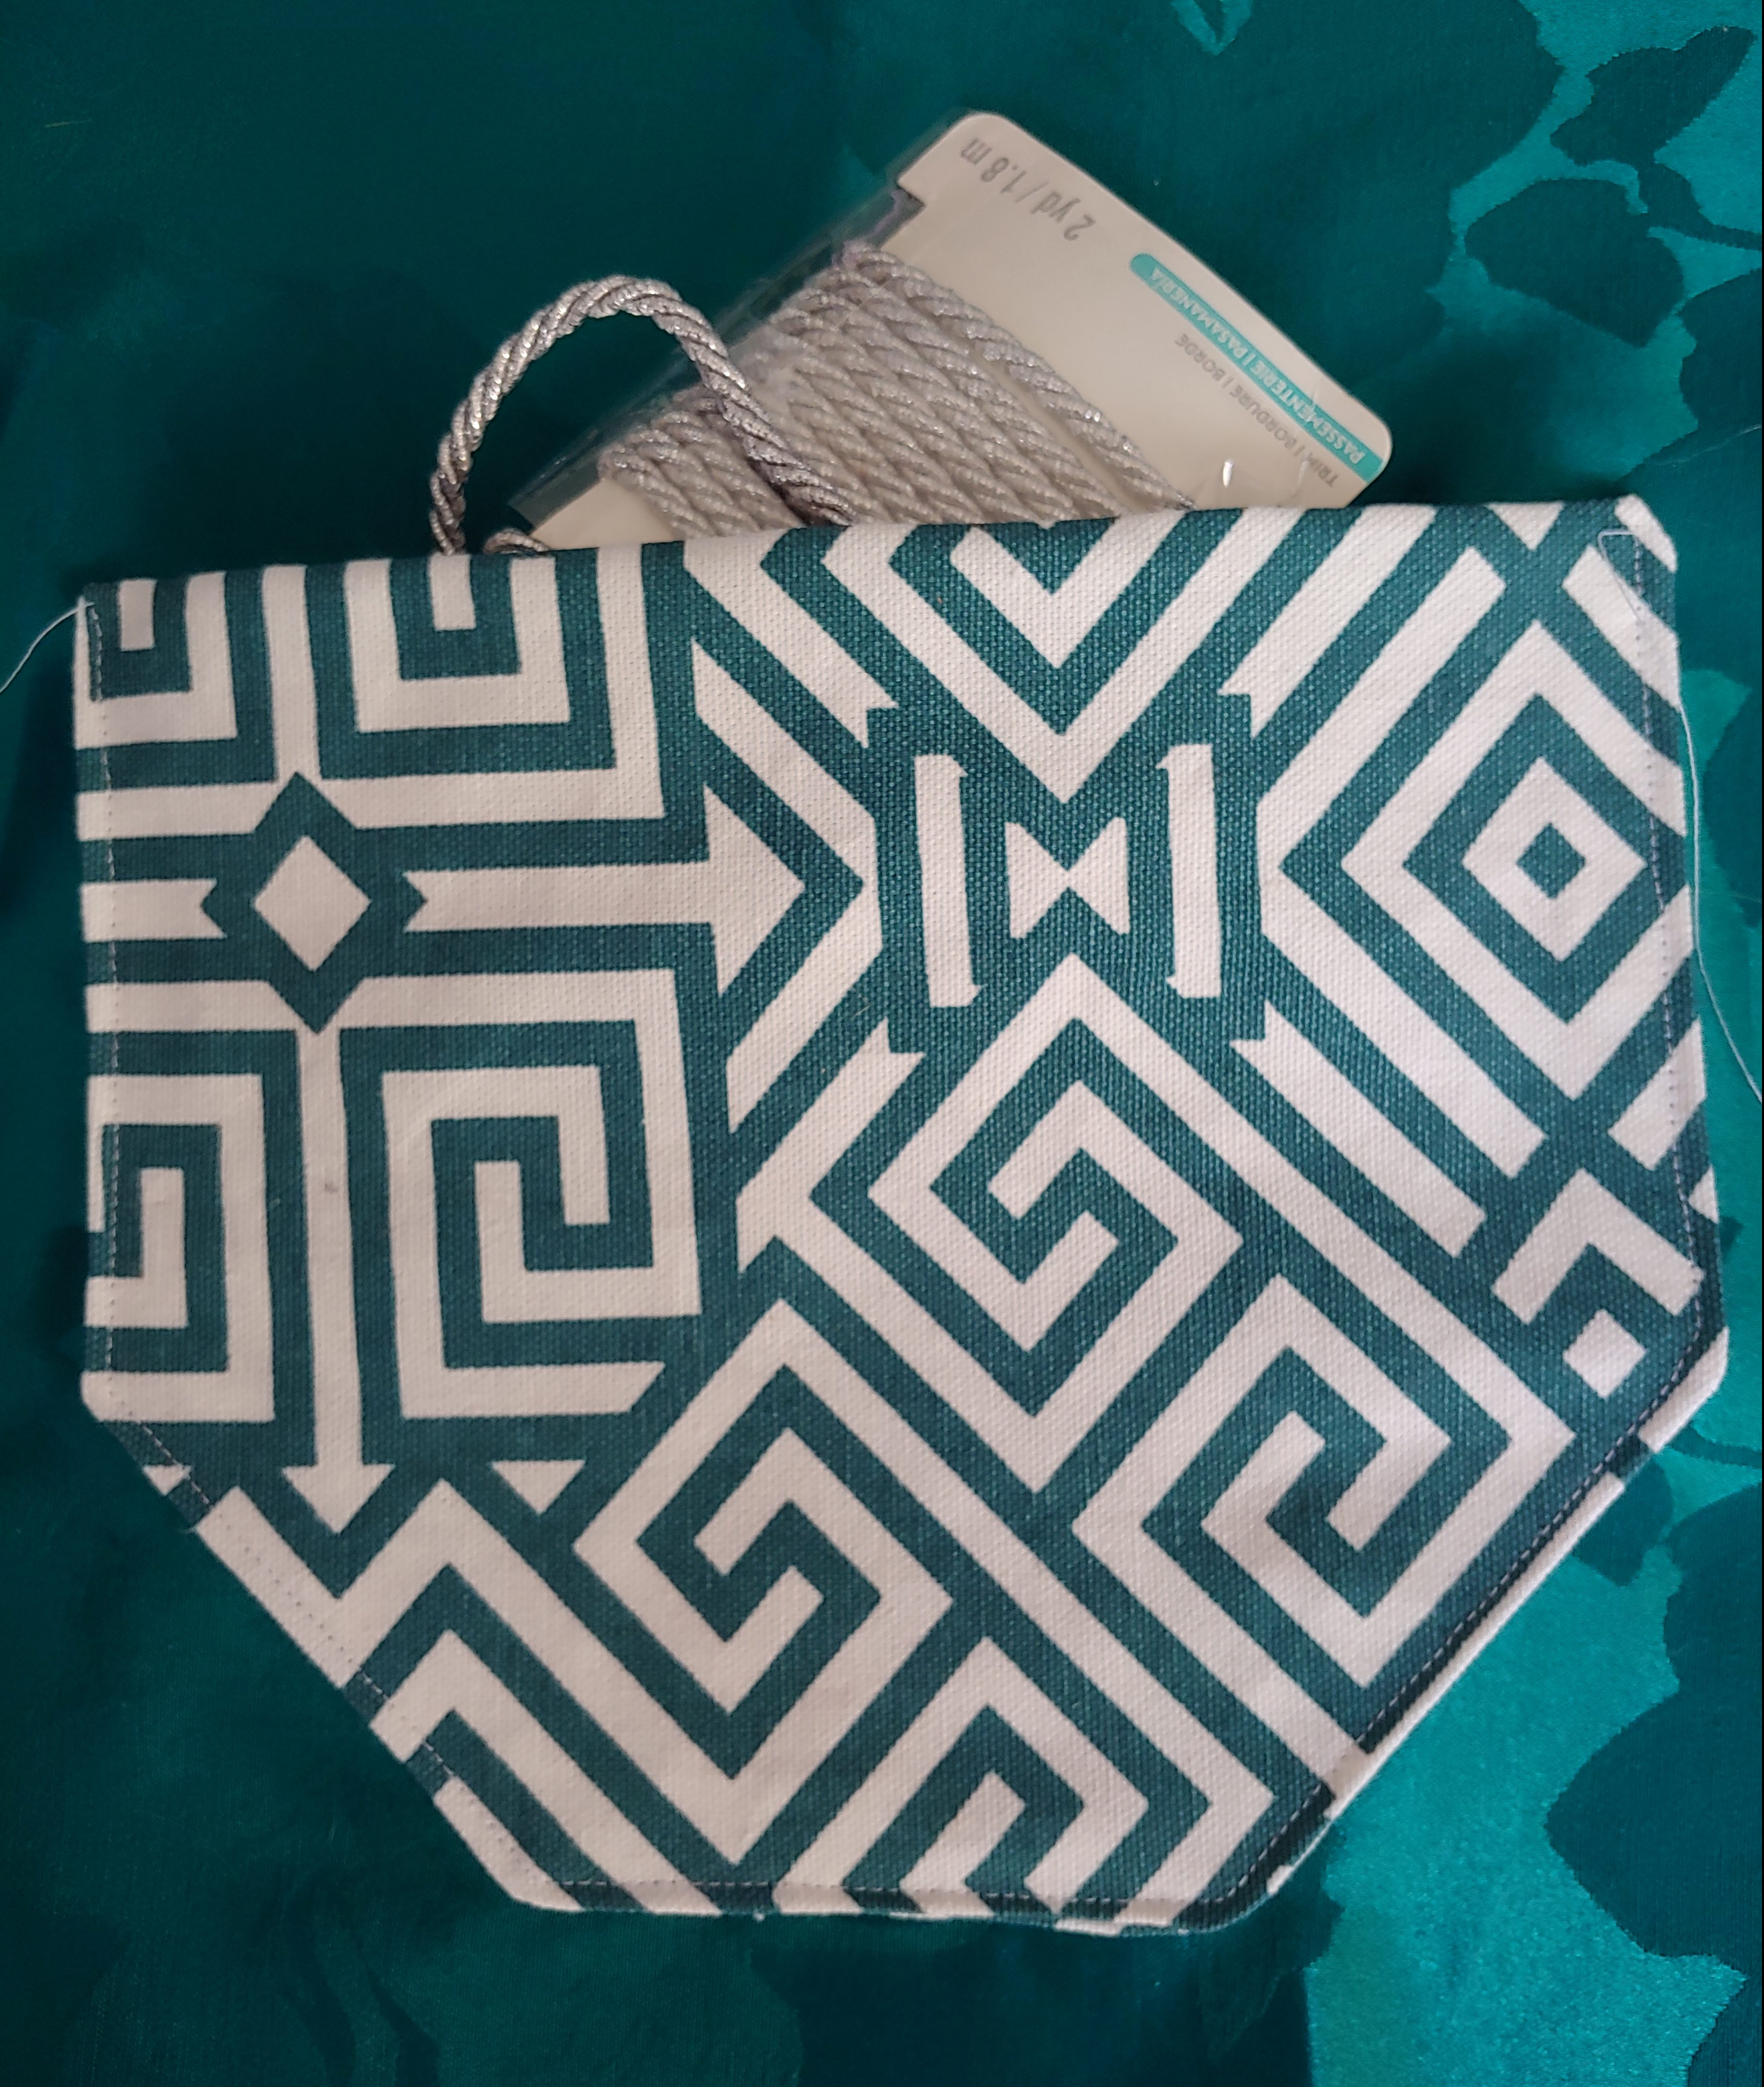
Cut off any stray threads, put some stuff in your fancy new pocket, and the next time someone says they like your cosplay, you can finally reply: “Thanks, it has pockets!”
